
Turning kitchen scraps and plant trimmings into rich, dark compost feels like a small kind of magic, and it is one of the most satisfying habits a home gardener can pick up. Home composting cuts the amount of waste you send down the chute, and it hands you a free, gentle soil improver for your pots and planters. The good news is that you do not need a garden or a big yard to do it. With the right small, covered setup and a little routine, home composting works perfectly well on an HDB service yard, a condo balcony or a shady corner indoors.
Why Compost at Home in a Small Space
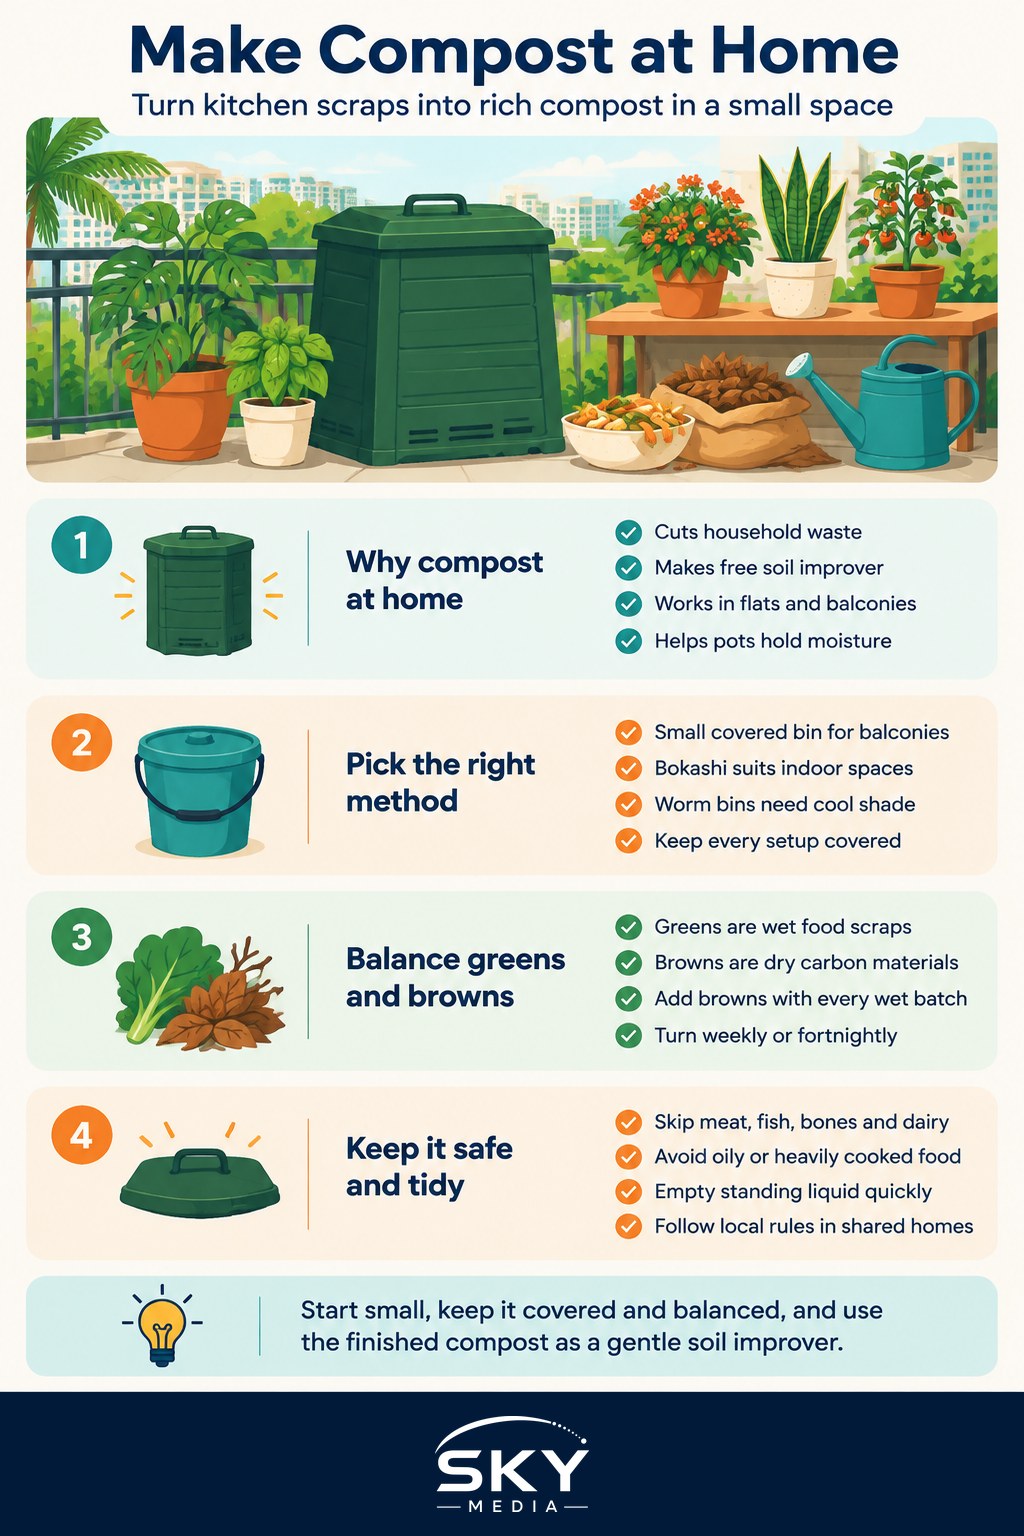
Roughly half of what a typical household throws away is food and plant matter, and in our climate that waste breaks down fast and smells quickly. Composting captures that material instead and turns it into something your plants will love. Finished compost improves the structure of potting mix, helps it hold moisture through our hot afternoons, and slowly releases nutrients, so you rely less on bagged fertiliser.
For a small Singapore home the challenge is simply doing it tidily. A well-run compost system in a flat should be closed, compact and odour-free. The whole art of home composting in a small space is keeping the process aerobic, meaning it has enough air, because that is what keeps it sweet-smelling rather than sour. Get the balance right and a bin the size of a small rubbish bin will quietly handle a household’s fruit peels and coffee grounds without fuss.
Choosing a Method That Fits Your Flat
Two approaches suit local homes best. A small covered compost bin, kept on a balcony or service yard, is the classic choice: you layer scraps with dry material and let it break down over a few months. The alternative is bokashi, a bin system that ferments scraps with a bran inoculant in a sealed bucket. Bokashi is airtight and compact, which makes it well suited to indoor use, and unlike ordinary composting it can take small amounts of cooked food. After the sealed fermenting stage the contents still need to be buried in soil or added to a bin to finish, so it pairs well with a few large planters.
| Method | Best for | Handles | Watch out for |
|---|---|---|---|
| Small covered bin | Balcony or service yard | Fruit and veg scraps, trimmings, dry leaves | Keep covered and balanced or it smells |
| Bokashi bucket | Indoors, tight spaces | Most food scraps, small cooked amounts | Needs a soil or bin stage to finish |
| Worm bin | Shady, cool corner | Soft fruit and veg scraps | Keep out of heat and sun, drain liquid |
Whichever you choose, keep the container covered with a well-fitting lid at all times. A cover keeps out flies and pests, contains any odour, and, just as importantly, stops rain filling the bin and creating stagnant water. Any liquid that drains from a bin or worm system must not be left standing, since standing water breeds Aedes mosquitoes; empty and use it promptly and follow current NEA and NParks guidance.
Getting the Green and Brown Balance Right
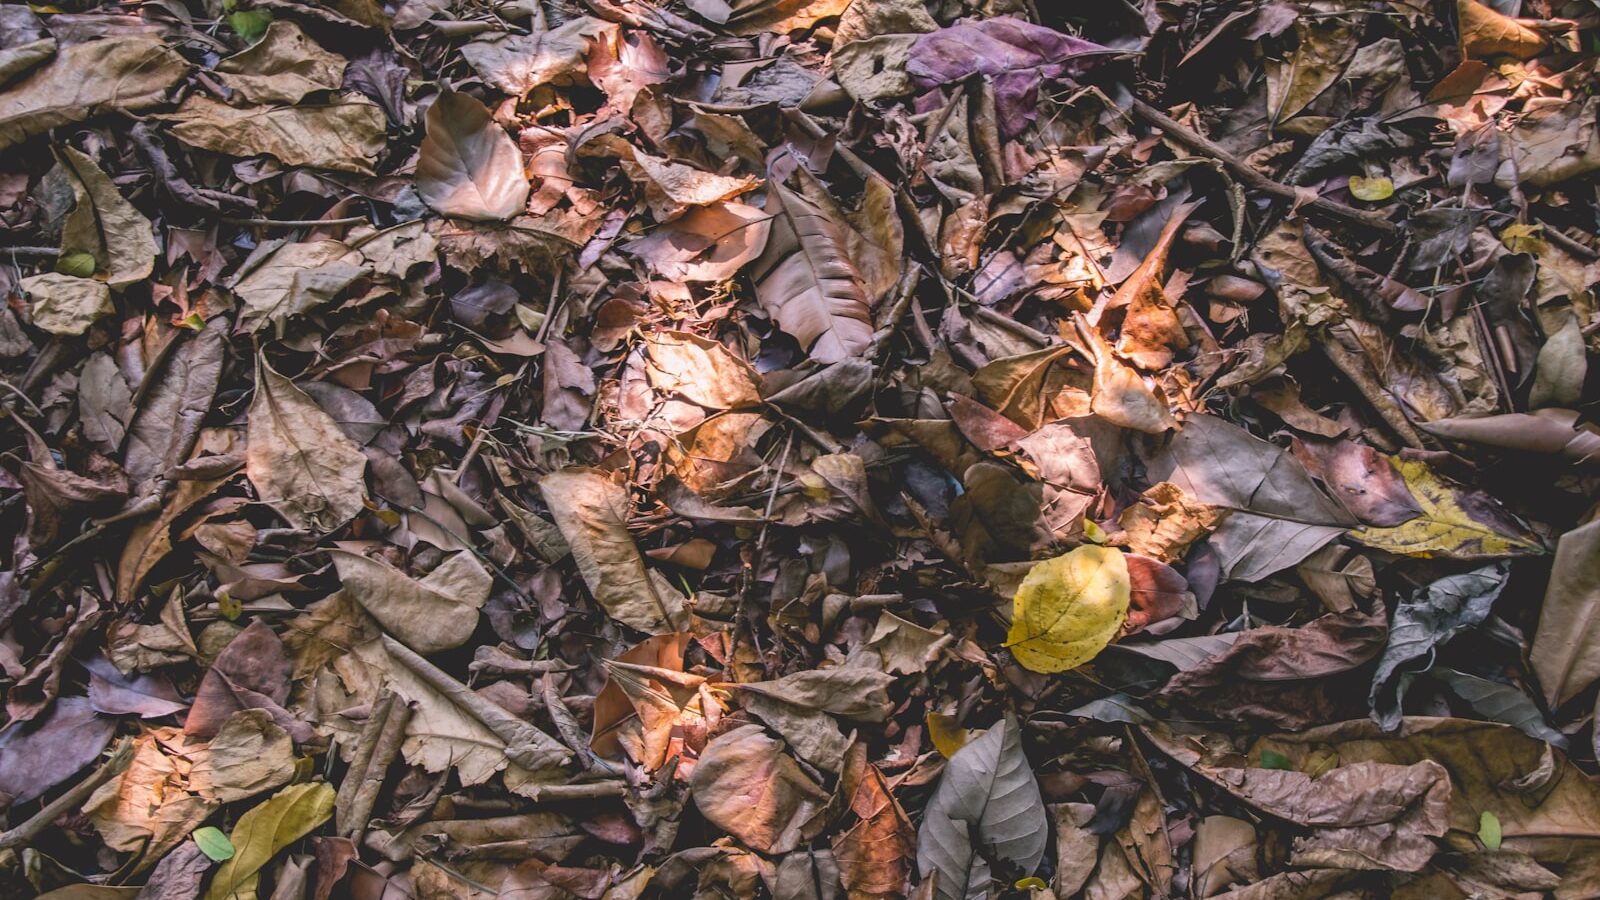
Good compost comes down to a balance between two kinds of material. Greens are wet and rich in nitrogen: fruit and vegetable peels, coffee grounds, tea leaves and fresh plant trimmings. Browns are dry and rich in carbon: dead leaves, shredded cardboard, newspaper, sawdust and the cardboard tubes from kitchen rolls. Greens feed the process and browns give it structure and air, so you need both.
Aim for a rough balance by adding a good handful of browns whenever you add a batch of wet scraps. If your bin turns slimy, sour-smelling or attracts flies, it has too many greens and not enough air, so mix in more dry browns and turn it. If it sits dry and lifeless, it needs more greens or a light sprinkle of water. Chop scraps small so they break down faster, and stir or turn the pile every week or two to keep air moving through it. In our heat a well-balanced bin works quickly, often giving usable compost in two to three months.
Keeping browns is the part small households forget. Set aside a bag of torn cardboard or dry leaves next to your bin so you always have some on hand. This single habit prevents most compost problems before they start.
What to Keep Out, and Keeping It Pest-Free
Some things do not belong in a home bin. Keep out meat, fish, bones, and dairy: they turn rancid, smell strongly and draw rats, cockroaches and flies, which is the last thing you want on a balcony or in a shared corridor. Avoid oily or heavily cooked food in an ordinary bin, along with pet waste and anything treated with chemicals. A sealed bokashi system is more forgiving of small amounts of cooked food because it ferments rather than rots, but even then go easy.
Pest control is mostly about discipline. Always bury fresh scraps under a layer of browns or existing compost rather than leaving them exposed on top, keep the lid firmly on, and never let the bin get waterlogged. A covered, balanced, well-drained bin gives flies and mosquitoes nowhere to breed and gives rats nothing to smell. If you live in an HDB flat or condo, keep your setup on your own property, be considerate of neighbours with no odour or mess, and follow HDB, town council or MCST rules on shared spaces. Site the bin in shade so it does not overheat, and secure it against wind on a high floor.
Using Your Finished Compost
You know compost is ready when it is dark, crumbly and smells of clean earth, with the original scraps no longer recognisable. If you still see chunky bits, let it mature a little longer or sieve them out and return them to the bin. Finished compost is a soil improver, not a stand-alone potting mix, so use it as part of a blend rather than planting straight into it.
Mix a few handfuls through the top of your pots as a gentle feed, stir it into fresh potting mix when you repot, or spread a thin layer on the surface as a mulch that slowly feeds the roots. Because it is mild, there is little risk of scorching plants the way strong fertiliser can. Start small, watch how your bin behaves in the heat, and adjust the greens and browns until it runs sweet and easy. Before long, turning today’s peelings into next season’s compost will feel like second nature.
Explore more
Home composting pairs naturally with our guide to making your own potting mix, where your finished compost becomes a key ingredient. If you are keen to close the loop further, read up on rainwater harvesting for your garden and give new plants the best start with seed starting for beginners.