
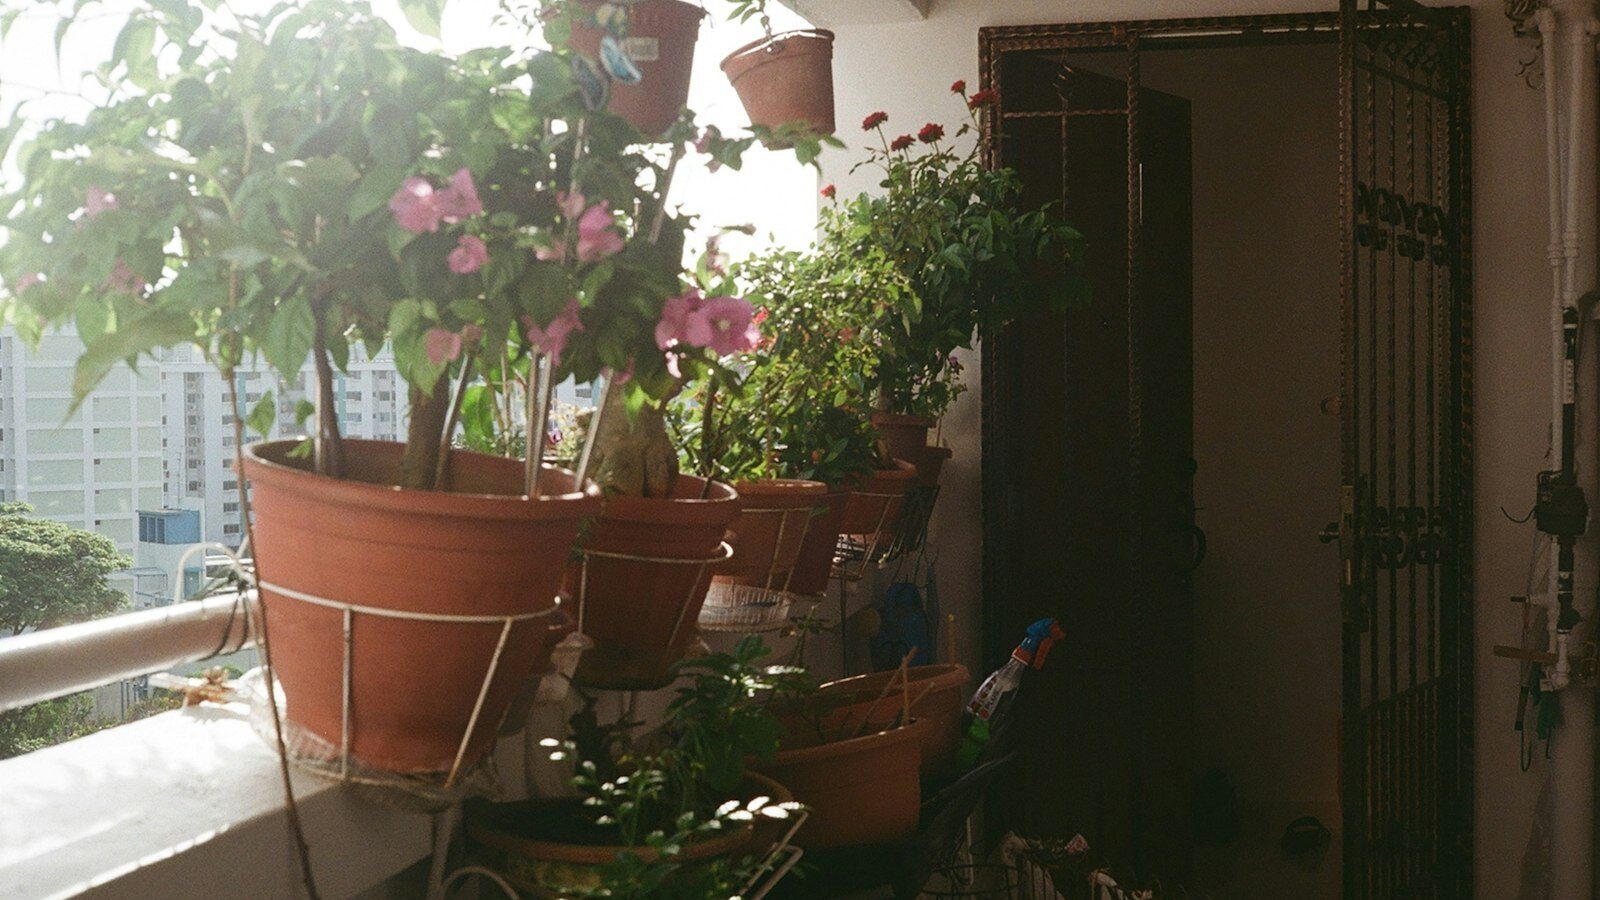
Once you have kept a few plants alive, mixing your own potting mix is the natural next step, and it is easier and cheaper than most beginners expect. A ready-made bag is a compromise built to suit everything and nothing in particular. When you blend your own, you can give a thirsty leafy plant a moisture-holding mix and a fussy aroid the airy, chunky roots it craves. This guide is about combining ingredients into blends by ratio, not about what soil is, so you can build the right home for each pot on your Singapore balcony or windowsill.
Why Blend Your Own At All
In our hot, humid climate the biggest killer of potted plants is not dryness but roots sitting in soggy, airless mix after a monsoon downpour. Bagged mixes are often too fine and too water-retentive for that reality, especially once they compact over a few months. Blending lets you dial in more air and faster drainage, which is exactly what most roots want here.
There is a cost angle too. Buying a few base ingredients in larger quantities and combining them yourself works out cheaper per pot than repeatedly buying small premium bags, and you can store the components dry until you need them. Best of all, you learn what your plants actually respond to, so each repot becomes a small experiment rather than a guess.
The Core Ingredients To Keep On Hand
You only need a small pantry of components to mix almost any blend. Think of them in three jobs: something to hold moisture and structure, something to add air and drainage, and something to feed.
- Coco coir is the workhorse base in Singapore, sold as compressed blocks you soak and fluff up. It holds moisture without turning to sludge and is widely available. Rinse it well, as some batches are salty.
- Perlite is the little white volcanic beads that create air pockets and stop mix compacting. It is the cheapest, fastest way to improve drainage.
- Compost or worm castings add gentle nutrients and life. A little goes a long way, and homemade compost is ideal if you make it.
- Bark chips or coco chips create big air gaps, essential for aroids and orchids that hate wet feet.
- Coarse sand or fine gravel adds weight and drainage for cacti and succulents, and helps top-heavy pots stay put in balcony wind.
Keep each component in its own sealed, labelled container so damp ingredients do not go mouldy. When handling dry coir dust, perlite, or sand, work in a breeze or wear a light mask, as the fine dust is an irritant, and rinse your hands afterwards.
Recipes By Plant Type
The magic is in the ratio. Rather than memorising exact grams, mix by scoops, using the same cup or pot as your measure. Here is a starting frame for the plants most Singapore growers keep. Treat these as a base and adjust after you see how fast each pot dries.
| Plant type | Base blend by scoops | What it delivers | Adjust if |
|---|---|---|---|
| Aroids (monstera, pothos, alocasia) | 2 coir : 2 bark : 1 perlite | Chunky, airy, fast draining | Add coir if it dries too fast |
| Leafy tropicals and ferns | 3 coir : 1 perlite : 1 compost | Holds moisture, still breathes | Add perlite if it stays soggy |
| Cacti and succulents | 1 coir : 1 perlite : 1 coarse sand | Very fast drainage, low water | Add sand for even sharper drainage |
| Herbs and leafy edibles | 2 coir : 1 compost : 1 perlite | Rich, steady moisture, feeds well | Add compost for hungry crops |
| Seedlings and cuttings | 3 coir : 2 perlite | Light, airy, easy on new roots | Keep it lean, no strong compost |
Notice that coir and perlite appear in almost everything. Master those two and the rest is fine-tuning. A rough rule for our climate: when in doubt, add another handful of perlite, because here the danger is nearly always too much water rather than too little.
Mixing, Storing And Using Your Blend
Mix in a large tub or an old basin, adding your scoops dry, then lightly moistening until the blend clumps if squeezed but crumbles when you open your hand. That damp-crumbly feel means it will wet through evenly without turning to mud. Make a little more than you need and store the surplus dry in a sealed bag.
When you pot up, do not pack the mix down hard. Firm it just enough to hold the plant upright, then let watering settle it naturally. Airy blends look loose at first, and that is the point. Refresh the top layer each year and mix a fresh batch fully every couple of years, since coir and compost break down and lose their structure over time.
A quick water warning. Many blends, especially the moisture-holding leafy and herb mixes, will keep saucers wet. Standing water in saucers, trays, or self-watering reservoirs breeds Aedes mosquitoes, which spread dengue. Never let a saucer hold water for long, empty and refresh it at least weekly, and follow current NParks and NEA guidance on preventing mosquito breeding at home.
Getting It Right For Small Spaces And Safety
On a breezy high-floor balcony, mixes dry out fast and pots can topple, so lean towards slightly more coir for moisture and a little sand for ballast, and secure every pot against wind and falls. Follow your HDB, town council, or MCST rules on shared and communal areas, and keep loose mix and runoff off neighbours below when you repot.
A few safety notes. Compost and coir can carry harmless soil organisms, so wear gloves when mixing and wash your hands afterwards, especially before eating. If you are blending for edibles, use clean compost from a known source and only ever eat the parts of a plant you have positively identified as edible, washed well before eating. Many popular houseplants you will be potting, such as pothos, alocasia and peace lily, are ornamental only and mildly toxic if chewed, so keep both the plants and any leftover mix away from young children and pets.
Start with one blend for your most common plant, watch how it drains and dries over a fortnight, and adjust the ratio from there. Within a few pots you will have a feel for it, and a homemade potting mix that suits your plants and your flat far better than any single bag ever could.
Explore more
Homemade blends work even better with a steady supply of ingredients, so try our guide to making compost at home for free nutrients and rainwater harvesting for your garden to water it. Once your mix is ready, put it to work with seed starting for beginners.