
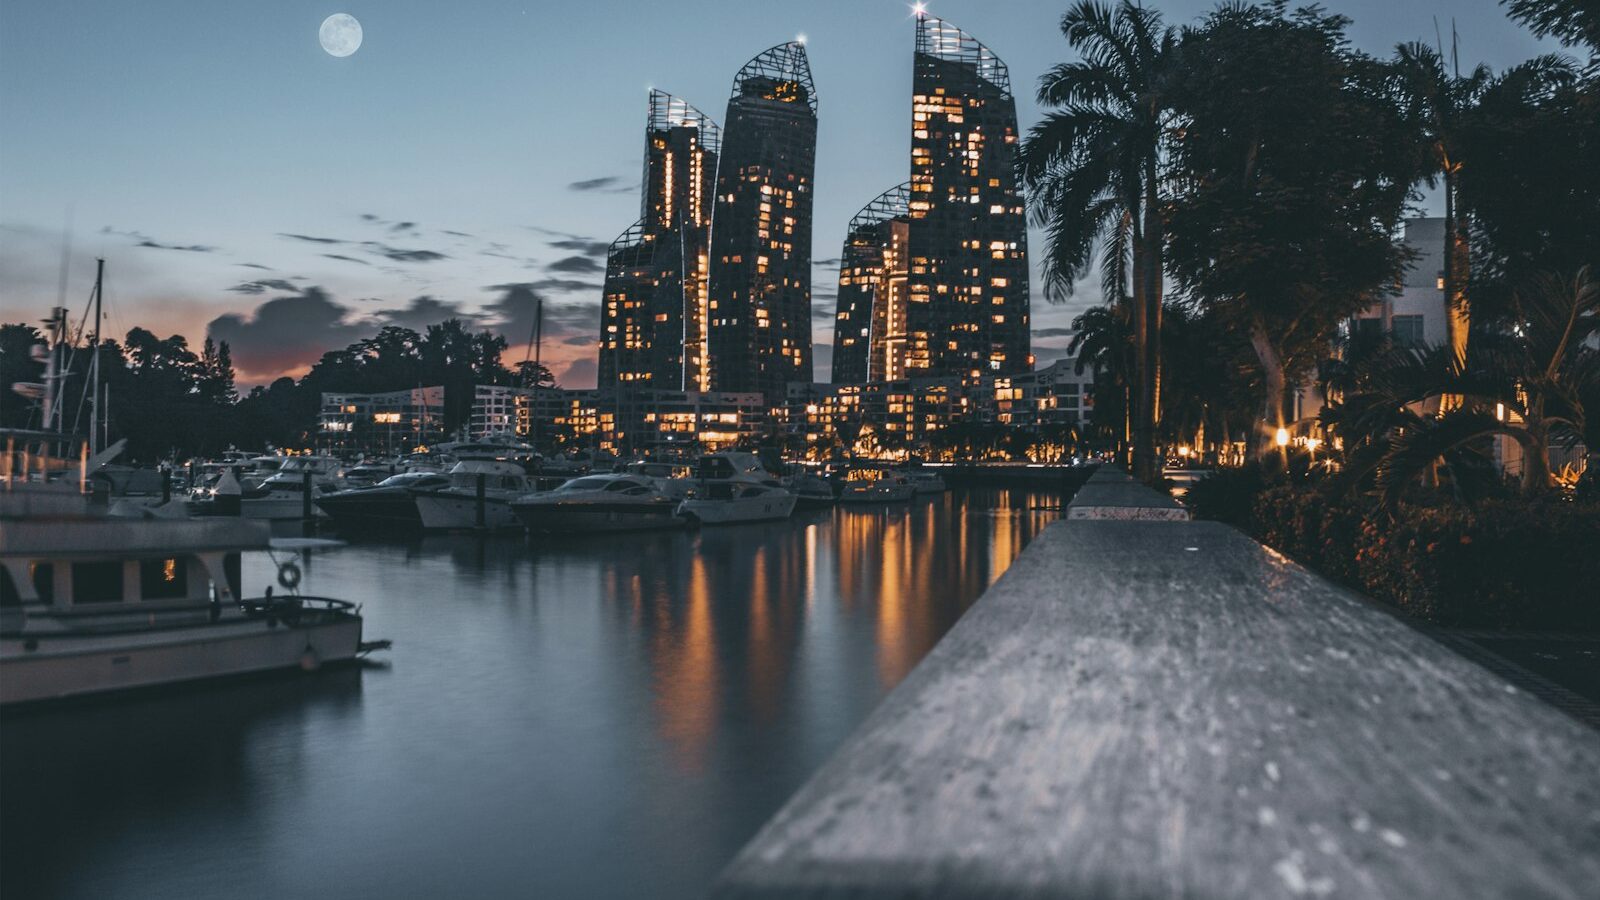
Figuring out how to photograph the moon trips up a lot of beginners, because their first attempts come out as a tiny white blob with no detail. The secret is simple once you understand it: the moon is a bright, sunlit rock, so it needs far less exposure than the dark sky around it suggests. Get that one idea right, add a long lens and a steady setup, and you can capture the craters and shadows that make lunar photos so striking.
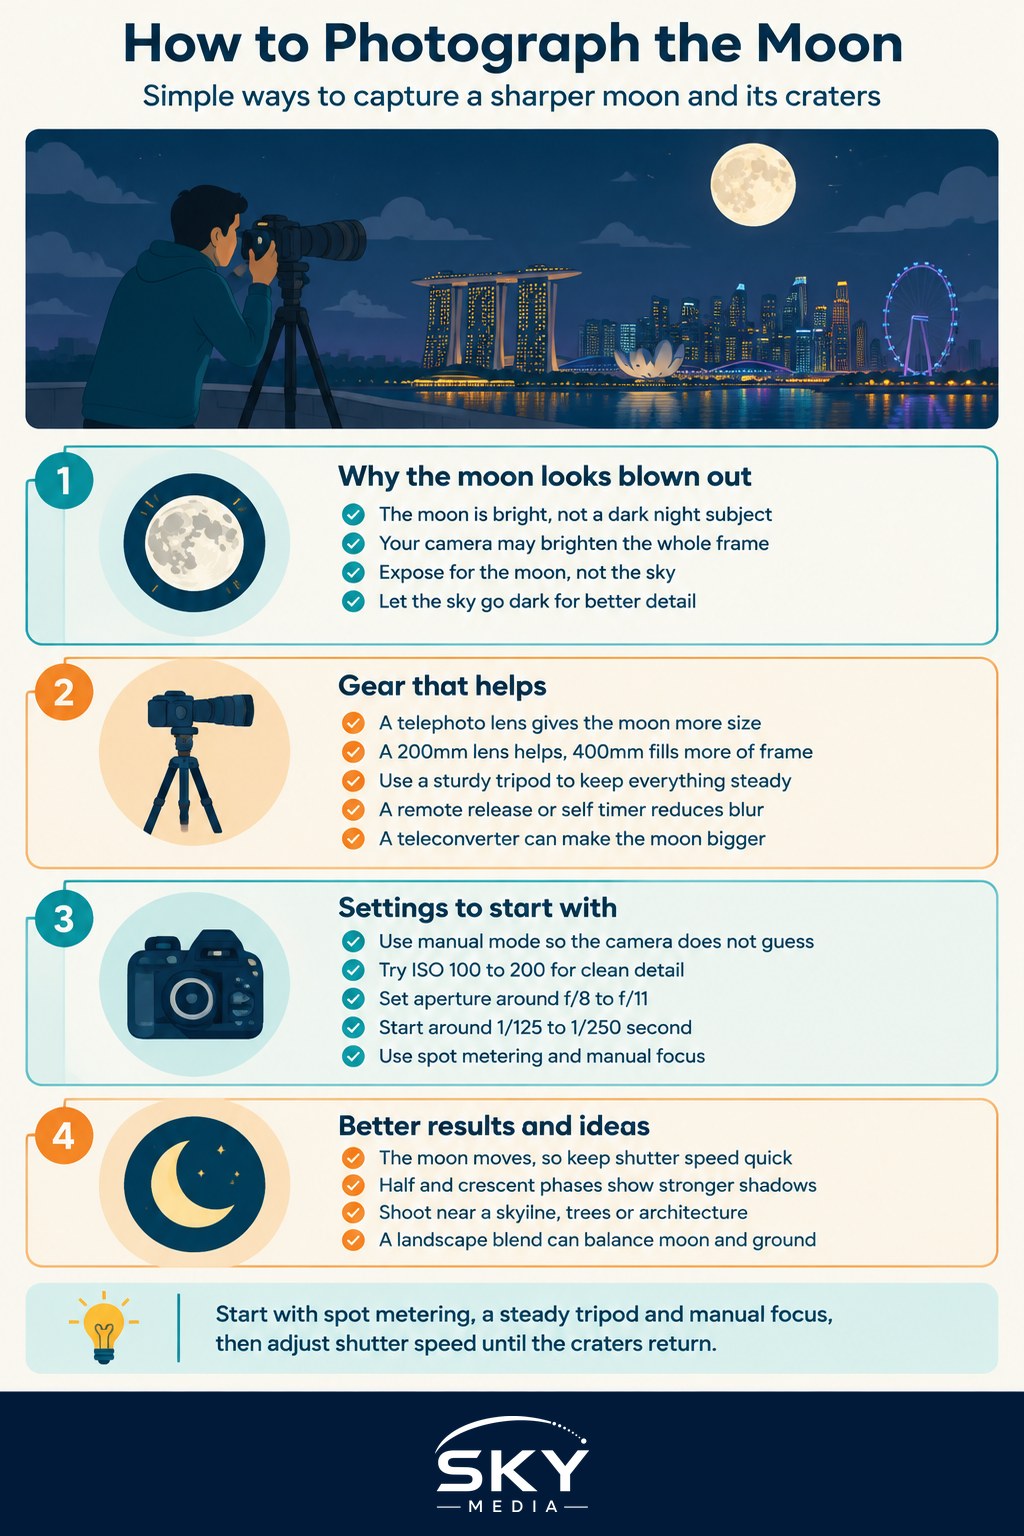
Why the moon is trickier than it looks
Your camera sees a small bright object surrounded by a huge black sky and tries to brighten the whole frame. That over-exposes the moon into a featureless disc. The fix is to expose for the moon itself and let the sky fall dark, which is exactly what we want anyway.
There is a well known starting point called the Loony 11 rule: on a clear night, set your aperture to f/11, then set your shutter speed to match your ISO. So at ISO 100, try 1/100 second at f/11. Treat this as a launch pad, not gospel, and adjust from there based on what you see.
Gear you will want
- A telephoto lens. The moon is small in the frame, so reach matters. A 200mm lens gives a modest moon; 400mm or more fills much more of the frame. Anything you have that zooms long will help.
- A sturdy tripod. Long lenses magnify every shake, so a stable base is essential.
- A remote release or the self timer. Pressing the shutter by hand introduces blur, so trigger the camera hands-free.
- Optional teleconverter. This multiplies your focal length for a bigger moon, at the cost of a little light and sharpness.
A phone alone struggles because of its very short focal length, but a phone held to the eyepiece of binoculars or a spotting scope can work surprisingly well. This technique is called digiscoping, and a cheap phone-to-scope clamp keeps the alignment steady so you are not wobbling the phone by hand. If all you have is a phone, tap and hold to lock exposure and focus on the moon, then slide the brightness down until the craters return, because the phone’s automatic mode will almost always brighten the disc too far.
The settings that work
Start in manual mode so the camera cannot second-guess you. Set a low ISO such as 100 to 200 for the cleanest detail. Choose an aperture in the sharp middle of your lens, often f/8 to f/11. Then set shutter speed to expose the moon correctly, usually somewhere between 1/125 and 1/250 second on a clear night.
Metering matters. Switch your camera to spot metering so it reads only the small bright moon rather than the vast dark sky. This gives a much more accurate exposure straight away. Check the back of the camera and your histogram: if the moon looks like a blown-out white circle, use a faster shutter or lower ISO until the craters and seas appear.
Focus carefully. Autofocus can hunt against a dark sky, so switch to manual focus, use your screen’s magnified live view, and turn the focus ring until the lunar edge and craters are razor sharp.
Remember the moon moves
The moon drifts across the sky faster than you expect. With a very long lens, too slow a shutter speed will blur the detail as it moves. This is another reason to keep your shutter reasonably quick, around 1/125 second or faster, rather than dropping it low the way you would for other night scenes.
Settings by situation
| Situation | Aperture | Shutter speed | ISO | Note |
|---|---|---|---|---|
| Clear night, full moon | f/11 | 1/125 to 1/250s | 100 | Spot meter on the moon |
| Clear night, half moon | f/8 to f/11 | 1/60 to 1/125s | 100 to 200 | Shadow line shows the most detail |
| Thin haze or cloud | f/8 | 1/60s | 200 to 400 | Raise ISO to keep shutter quick |
| Moon low near horizon | f/8 | 1/125s | 100 to 200 | Warmer colour, softer detail |
| Moon with landscape | f/8 | varies | 100 to 400 | Consider two blended exposures |
Composition ideas beyond the plain disc
A sharp close-up of the moon is satisfying, but the moon becomes far more interesting with something to give it scale and place.
- Shoot the moon rising or setting near a recognisable skyline or building. It looks largest close to the horizon.
- Frame it behind trees, a bridge or architecture for depth.
- Capture the crescent, which reveals the most dramatic crater shadows along the terminator, the line dividing light and dark.
Getting the moon and a foreground both correctly exposed in one frame is hard, because the moon is so much brighter. Many photographers take one exposure for the moon and one for the landscape, then blend them in editing. There is nothing wrong with that, as long as you are honest about it.
Common mistakes to avoid
- Leaving the camera on auto, which over-exposes the moon into a white ball.
- Using too slow a shutter, which blurs detail as the moon moves.
- Trusting autofocus in the dark. Focus manually with magnified live view.
- Shooting through a window or on an unstable surface, which softens every frame.
- Cranking ISO too high and drowning the fine craters in noise.
Make the most of each phase
The moon does not look the same from one night to the next, and each phase suits a different kind of photo. A full moon is bright and evenly lit, which is easy to expose but flat, because the sunlight hits it head on and flattens the craters. The half and crescent phases are far more dramatic, because the low angle of sunlight throws long shadows along the terminator and reveals texture across the surface. If you want the most detail, shoot a few nights either side of full moon rather than on the night itself. A quiet, stable night with little air turbulence, often called good seeing, also gives noticeably sharper results than a shimmering, hazy sky.
Go and shoot the sky
Check when the moon rises, pick a clear evening, and give yourself time to experiment. A telephoto lens, spot metering and a steady tripod will take you most of the way. Once you have seen crisp craters appear on your screen, you will understand how to photograph the moon for good, and you will keep coming back for each new phase.
Explore more: Understanding aperture, shutter speed and ISO · Long exposure photography basics · Landscape photography tips Singapore
Frequently Asked Questions
Can I photograph the moon with just my phone? You can get a decent result, but the short focal length makes the moon small. Tap and hold to lock exposure and focus on the moon, then lower the brightness until craters appear. Holding the phone to binoculars or a spotting scope, called digiscoping, works better.
Why does my moon photo look like a white blob? The camera sees a small bright object against a huge black sky and brightens the whole frame, overexposing the moon. Use manual mode, spot metering and a faster shutter or lower ISO until the craters and seas appear, checking your histogram.
Which moon phase shows the most crater detail? Half and crescent phases are more dramatic, because low-angle sunlight throws long shadows along the terminator and reveals surface texture. A full moon is easy to expose but flat. For the most detail, shoot a few nights either side of full moon.
How can I get the moon and a skyline in the same photo? The moon is far brighter than the landscape, so one exposure rarely suits both. Many photographers take one frame for the moon and another for the landscape, then blend them in editing. Moon rises and sets near the horizon often look larger beside a recognisable building.
Does hazy or cloudy weather ruin moon photography? Not always. Thin haze or cloud can still work if you raise ISO to keep the shutter quick. A clear, steady night gives sharper results, since shimmering air blurs detail, but the moon can still be photographed through light cloud.