
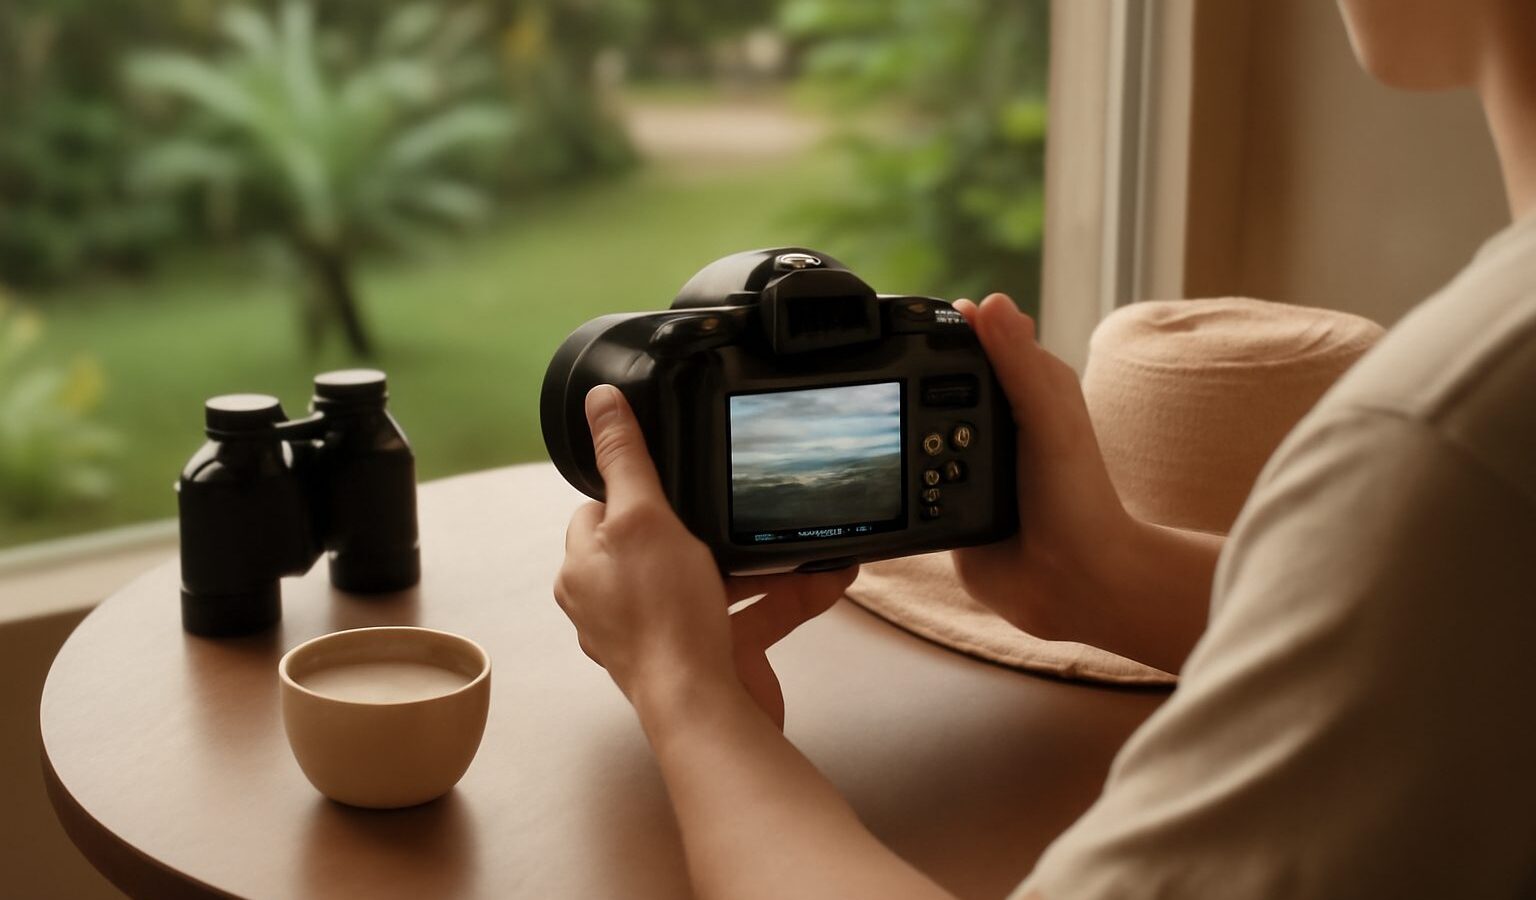
There is a quiet joy in standing still while the light changes over water, trees or a city skyline. Landscape photography is about capturing a sense of place, the mood of a morning at a reservoir or the glow of dusk over the bay. It rewards patience more than expensive gear, which makes it a wonderful genre for beginners. You do not need to travel far, either. Singapore’s parks, coastline, reservoirs and skyline offer plenty of scenes if you learn to read light and compose with care.
This guide covers the essentials: gear you actually need, the settings that keep landscapes sharp, how to compose a scene, and how to work with our tropical light and weather. Everything here is doable with a phone or an entry-level camera and a willingness to get up early.
Gear You Actually Need
It is easy to believe landscape photography demands a wall of equipment. In truth, a few basics cover most situations, and you can add pieces slowly as your interest grows. Because gear and prices change quickly, always check current specifications before buying.
- A camera or capable phone. Any modern phone or an entry-level mirrorless or DSLR will do. Wider lenses suit sweeping scenes, while a modest zoom lets you pick out distant details like a lone tree or a cluster of towers.
- A tripod. This is the one accessory worth prioritising. A budget tripod keeps your camera steady for sharp shots in low light and for long exposures at dawn and dusk. Even a small tabletop model helps.
- A lens cloth. Our humidity fogs lenses when you step from air-conditioning into the heat, so give glass time to acclimatise and keep a cloth handy.
- A remote or self-timer. Pressing the shutter can nudge the camera. Use a two-second timer or a cheap remote to avoid blur on the tripod.
Skip the pricey filters and extras until you know you need them. Skill and timing matter far more than the badge on your gear.
Settings For Sharp, Well-Exposed Scenes
Landscapes usually call for front-to-back sharpness and clean, detailed files. A basic grasp of the exposure triangle (aperture, shutter speed and ISO) makes this straightforward.
- Narrow your aperture. An f-number around f/8 to f/11 keeps both foreground and distance in focus. Going much higher can soften the image, so this middle range is a safe default.
- Keep ISO low. Set ISO 100 or 200 for the cleanest results. Because your camera is on a tripod, a slower shutter speed is fine, so there is no need to raise ISO in most daylight scenes.
- Let shutter speed float. With aperture and ISO fixed, allow the shutter to be as long as needed for a correct exposure. On a tripod, even a one or two second exposure is no problem.
- Focus about a third into the scene. Rather than focusing on the far horizon, focus slightly into the frame to spread sharpness front to back. On a phone, tap on a point a little way in.
- Shoot in RAW if you can. RAW files hold more detail in bright skies and dark shadows, which helps a lot with our high-contrast light. If your phone offers a RAW or Pro mode, try it.
Check your histogram or screen to make sure bright skies are not blown out to pure white, as that detail cannot be recovered later.
Composition That Gives Scenes Depth
A technically clean photo can still feel flat. Composition is what gives a landscape a sense of space and invites the eye to wander through it.
- Build a foreground. A rock, a railing, reeds or a path in the near part of the frame adds depth and a way into the picture.
- Use leading lines. A boardwalk, a jetty, a shoreline or a row of trees can guide the viewer from front to back and toward your main subject.
- Mind the horizon. Keep it level, and place it off-centre. A low horizon emphasises a dramatic sky; a high one highlights foreground detail like water or grass.
- Apply the rule of thirds. Position key elements along the imaginary third-lines rather than dead centre for a more natural balance.
- Look for reflections. Still reservoir or pond water at dawn can mirror the sky and double the impact of a scene.
- Simplify. Decide what the photo is about and remove clutter by changing your position or your framing. A clean composition is almost always stronger.
Walk around before you settle. Small shifts left, right, higher or lower can transform an ordinary view into a considered one.
Working With Light, Time And Weather
Light is the raw material of landscape photography, and in Singapore it changes fast. Timing your outing is often the single biggest factor in a good result.
| When | Light quality | Best for |
|---|---|---|
| Golden hour (just after sunrise, before sunset) | Warm, soft, low-angled | Skyline, coast, parks, warm tones |
| Blue hour (just before sunrise, after sunset) | Cool, even, gentle | City lights, calm water, moody scenes |
| Midday | Harsh, high, contrasty | Best avoided; try shade or detail shots |
| Overcast or after rain | Soft, diffused, saturated | Greenery, gardens, wet reflections |
Our sunrises come early and the light climbs quickly, so arrive before it to be set up in time. Cloud is a friend, not a foe: a cloudless sky can look empty, while scattered clouds add drama and catch colour at dawn and dusk. After a tropical downpour the air is clear and leaves glisten, which is a fine moment to shoot greenery. Always watch the weather and your own safety near water, lightning and slippery ground, and never trespass to reach a viewpoint.
Editing To Finish The Photo
A little post-processing brings a landscape to life without faking it. Aim to reveal what you saw rather than invent something that was not there.
- Balance the exposure. Lift shadows and pull back bright highlights to recover detail in our contrasty skies.
- Adjust white balance. Warm up a golden-hour shot or cool a blue-hour one to match the mood you felt.
- Boost contrast and clarity gently. A modest lift adds punch; too much looks harsh and unnatural.
- Refine colour carefully. Nudge greens and blues so foliage and sky look rich but believable.
- Crop to strengthen the frame. Straighten the horizon and trim distractions at the edges.
Landscape photography is a slow, rewarding craft. Return to the same spot in different light and seasons, keep a small routine of early starts, and you will steadily build a collection of images that capture the changing moods of Singapore.
Explore more
To go deeper, master framing with the rule of thirds and composition basics and learn to chase the best light in shooting in golden hour and blue hour. When you are ready for silky water and light trails, read long exposure photography basics, and turn your lens toward the city with how to photograph architecture and buildings.