
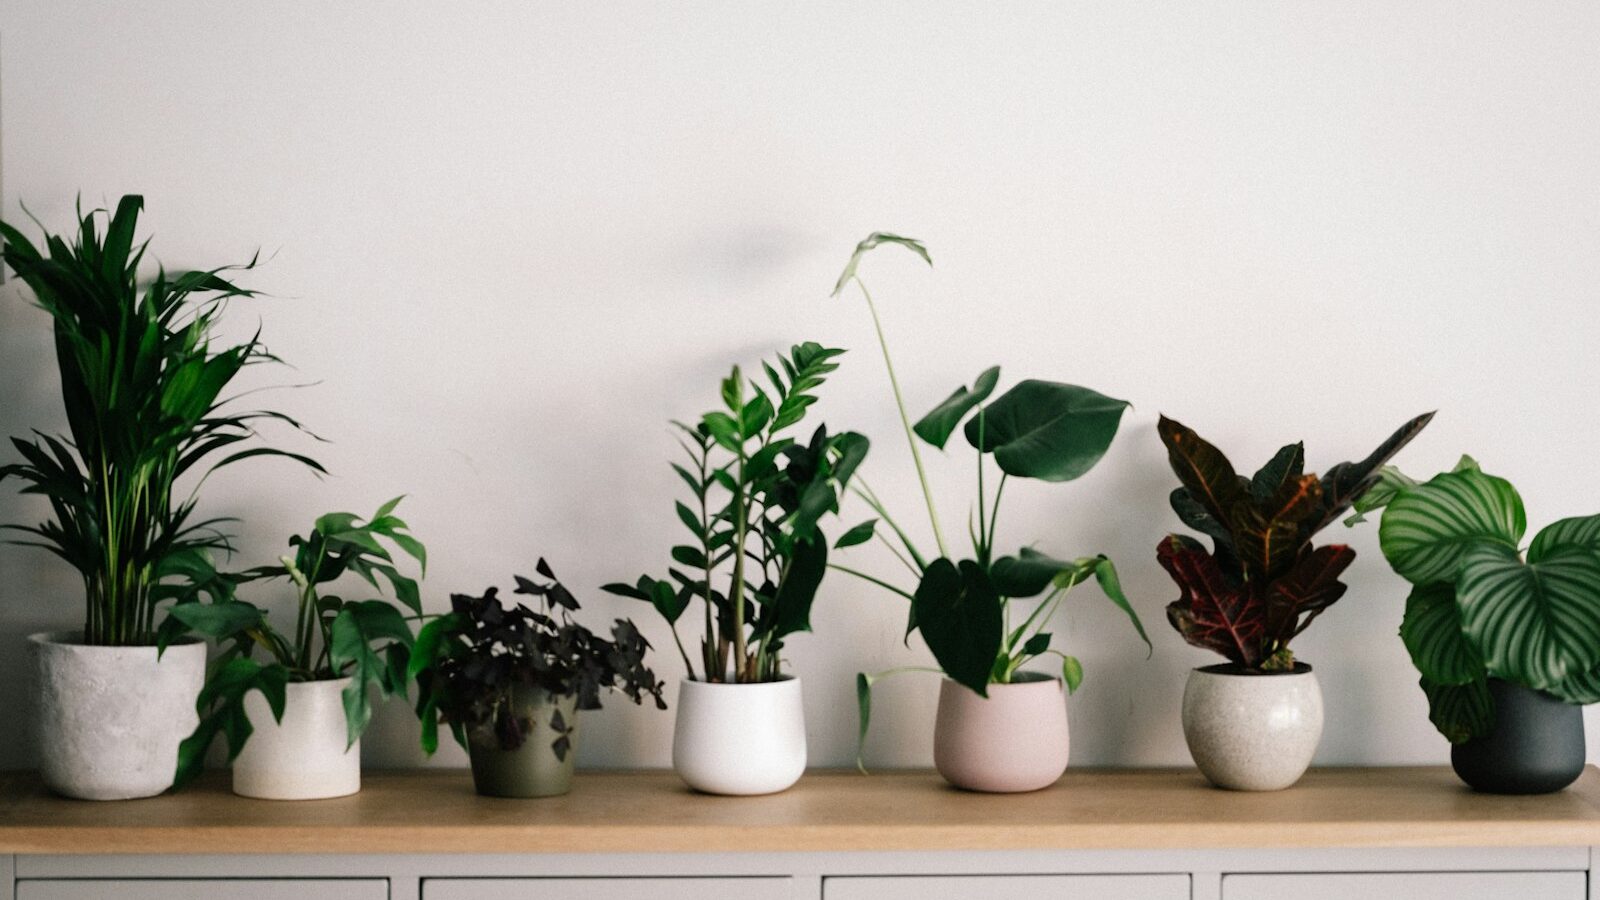
Repotting houseplants in Singapore is one of those small tasks that quietly makes a big difference. A plant that has outgrown its pot cannot drink or feed properly, and in our year-round heat that stress shows up fast as droopy leaves and slow growth. The good news is that repotting is easy, cheap, and beginner-friendly. You do not need a garden or fancy tools, just a spare hour, a slightly bigger pot, and some fresh mix. Get one plant right and you will happily do the rest.
This guide walks you through the whole thing, from spotting the signs to settling your plant into its new home, with tips tuned to HDB flats, balconies and our humid climate.
When Your Plant Is Telling You to Repot
Most houseplants only need repotting every one to two years, sometimes longer for slow growers. Rather than watching the calendar, watch the plant. Look out for these signs:
- Roots creeping out of the drainage holes or circling the surface of the soil.
- Water running straight through and out the bottom without soaking in.
- The plant drying out much faster than it used to, so you are watering constantly.
- Roots so tightly packed that the shape of the pot is pressed into the root ball (a “root bound” plant).
- Growth that has stalled even though light and watering are fine.
- Soil that has broken down into a dense, water-trapping muck.
The best time to repot in Singapore is any time really, since we have no true seasons, but a plant that is actively pushing out new leaves will bounce back quickest. Avoid repotting a plant that is already very sick unless the roots are rotting, because it needs its energy to recover, not to settle into new soil.
What You Need to Start
You can keep this simple. Here is a basic kit:
- A new pot one size up, with drainage holes.
- Fresh potting mix (not garden soil, which is too heavy for containers).
- A saucer or tray to catch runoff.
- A trowel or an old spoon, plus a pair of scissors.
- Old newspaper or a large tray to work over, and a watering can.
A quick word on cost. Prices for pots, soil and nursery items vary a lot, so think in rough bands rather than fixed figures. Plastic nursery pots and basic potting mix sit at the budget end, glazed ceramic and premium aroid or cactus mixes at the pricier end. Check the nursery or shop for current prices, and buy a big bag of mix if you plan to repot several plants, as it usually works out cheaper.
Choosing the Right Pot and Potting Mix
The single most common repotting mistake is going too big. It feels generous, but a pot that is far too large holds a lot of wet soil around a small root ball, and that soggy soil is a fast route to root rot in our humidity. Step up by just one size, roughly two to four centimetres wider than the current pot.
Drainage matters more here than in cooler countries. Always choose a pot with holes, because our monsoon-season air stays damp and roots sitting in water will suffocate. A comparison of common materials helps you pick:
| Pot type | Drainage and airflow | Weight and cost | Best for |
|---|---|---|---|
| Plastic nursery pot | Holds moisture, has holes | Light, budget | Beginners, thirsty plants, hanging spots |
| Terracotta (unglazed) | Breathes, dries quickly | Medium, low cost | Succulents, cacti, overwaterers |
| Glazed ceramic | Holds moisture, looks smart | Heavy, mid to premium | Display pieces indoors |
| Fabric grow bag | Excellent airflow, dries fast | Light, budget | Balconies, edibles, root health |
For mix, a good all-purpose potting mix suits most leafy houseplants. Chunky aroid mixes with bark and perlite suit monsteras, pothos and philodendrons, while a gritty, fast-draining mix suits succulents and cacti. Fresh mix also carries mild nutrients, so hold off on feeding for a few weeks after repotting.
Repotting Step by Step
Work somewhere you can make a mess, like a balcony, kitchen sink or a tray on the floor.
- Water the plant lightly an hour before, so the root ball holds together and slides out cleanly.
- Tip the pot sideways, support the base of the plant, and ease it out. Squeeze a plastic pot or run a knife around a stiff one rather than yanking the stem.
- Loosen the roots gently with your fingers. If they are circling tightly, tease them apart or make a few shallow vertical cuts so they grow outward, not in circles.
- Trim away any mushy, dark or foul-smelling roots with clean scissors. Healthy roots are firm and pale.
- Add a layer of fresh mix to the new pot, set the plant so the top of the root ball sits a little below the rim, then fill around the sides. Firm it down gently, leaving no big air pockets.
- Water thoroughly until it drains from the bottom, then let it settle. Top up with a little more mix if the soil sinks.
Do not bury the stem deeper than it was before, as that invites rot at the base.
Aftercare, and Keeping Mosquitoes Out
A freshly repotted plant is a little stressed, so give it a week or two of gentle treatment. Keep it out of harsh direct sun, avoid fertiliser until it has recovered, and expect a few droopy leaves at first. Water when the top few centimetres of mix feel dry rather than on a fixed schedule.
This is where a Singapore-specific habit matters. After watering, water will collect in the saucer under your pot, and standing water is exactly where Aedes mosquitoes breed. Dengue is a real and serious risk here, so never let water sit in saucers or trays. Tip out the runoff within a few minutes, or lift the pot onto pot feet so the base is not sitting in a puddle. Also avoid soil that has hardened into a crust, since it traps water on top and stops it draining. Following NEA’s anti-mosquito advice and doing a quick check of your pots each week protects your neighbours as well as your plants.
If any pesticide or fertiliser is part of your routine, follow the product label, keep it well away from children and pets, and lean towards eco-friendly or organic options where you can.
Common Repotting Mistakes to Avoid
Keep these in mind and your success rate will climb:
- Jumping several pot sizes at once, which leaves soil permanently soggy.
- Using dense garden soil or old, broken-down mix instead of fresh potting mix.
- Skipping drainage holes for the sake of a pretty pot.
- Packing soil down so hard that roots cannot breathe.
- Feeding straight after repotting and burning stressed roots.
Start with one easy, forgiving plant such as a pothos or snake plant, and you will quickly get a feel for it. Repotting is genuinely satisfying, and a happy, well-rooted plant is the reward.
Explore More
New to all this? Begin with our beginner’s guide to houseplants in Singapore and pick something forgiving from our roundup of the best low-maintenance indoor plants. If your plant still looks off after repotting, our guide to common houseplant problems and fixes will help you find the cause.