
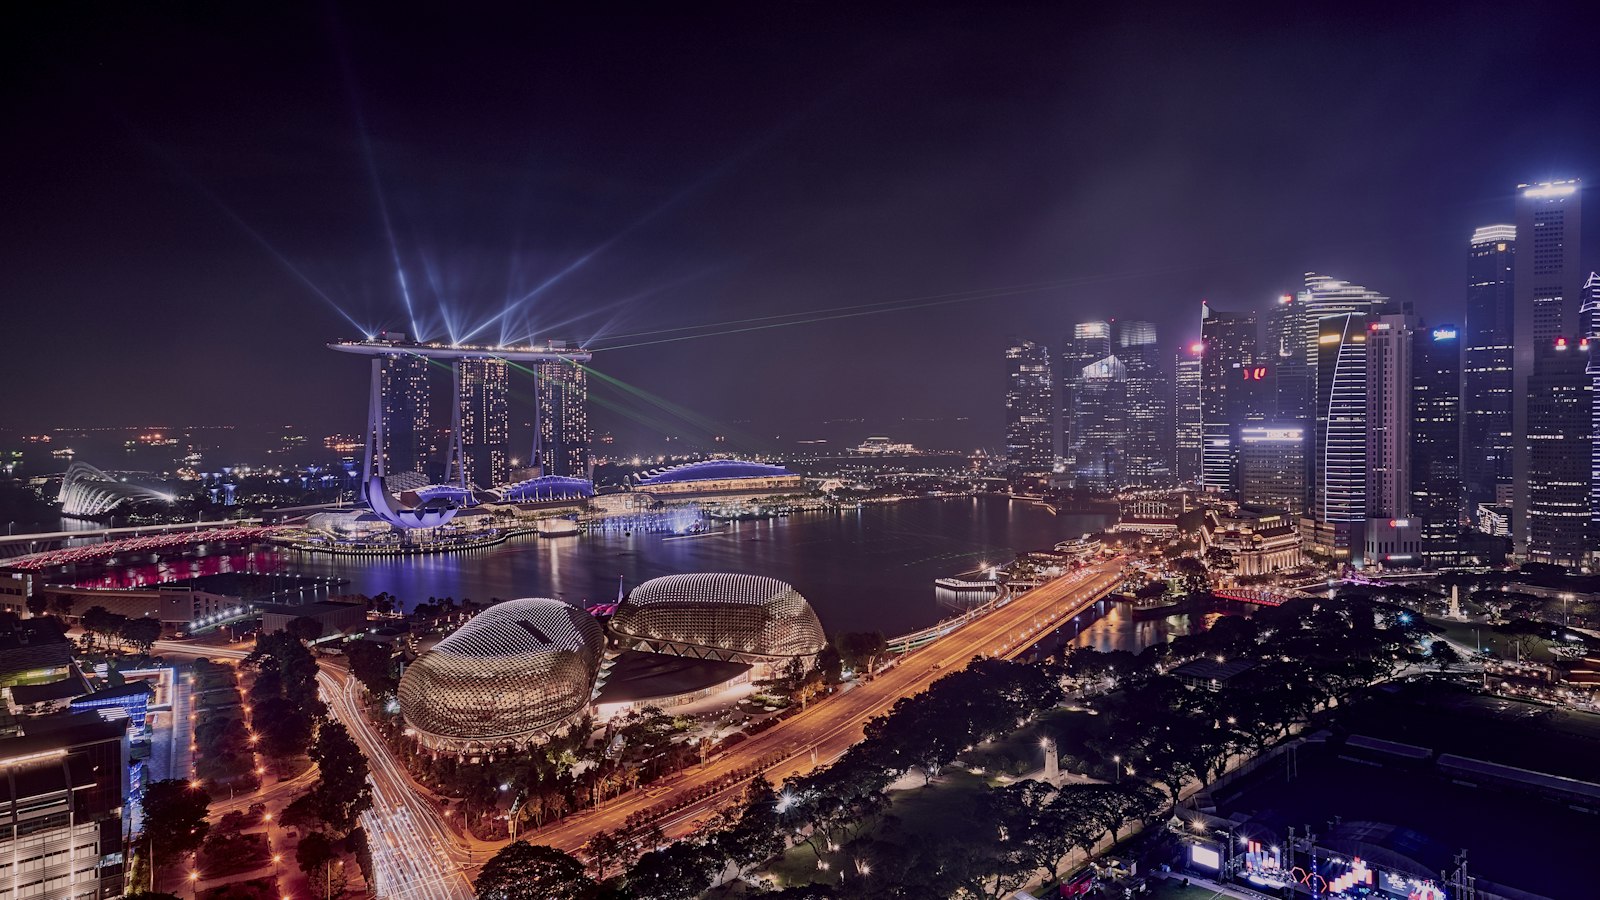
Projection mapping turns a museum facade into a moving canvas, and glowing sculptures make city streets feel otherworldly. Yet many people come home from a night festival with photos that are blown out, smeared or striped with strange bands. Light projections behave differently from fireworks, street lamps or sunsets. This guide explains how to photograph light projections and installations well, with a focus on exposure, flicker and crowd composition, using either a phone or a dedicated camera.

Why Projections Are Tricky to Photograph
Three things make projection mapping harder than it looks:
- High contrast. The projected building is very bright, while the sky and the crowd around it are almost black. Cameras struggle to hold detail in both at once.
- Constant motion. The images on the facade change every second. A long exposure blends several frames into a blur, which can look either magical or muddy.
- Refresh and flicker. Projectors and LED lights refresh at high speeds. Your eyes see a steady image, but a camera’s sensor can catch dark bands or partial frames, especially with fast shutter speeds or electronic shutters.
Understanding these helps you pick settings deliberately rather than relying on auto mode.
Exposure: Protect the Highlights
The most common mistake is letting the camera expose for the dark surroundings, which burns out the projection into flat white.
On a phone:
- Tap on the brightest part of the projection to set focus and exposure, then drag the exposure slider down a little until colours look rich.
- Try both the standard camera and night mode. Night mode is excellent for static light sculptures but can smear fast-changing projections. Our guide to night mode and low-light phone photography covers when to switch it off.
- Shoot in RAW or ProRAW if your phone offers it, which gives you room to recover highlights later.
On a camera:
- Use manual or aperture priority with exposure compensation, often around one or two stops under what the meter suggests. Check the histogram so the right edge does not pile up.
- A starting point that often works for projections is a moderate aperture, a shutter speed fast enough to freeze a single frame of animation, and an ISO high enough to support it. Adjust from there based on brightness.
- Spot or highlight-weighted metering on the projection gives more consistent results than evaluative metering.
Rolling Shutter, Flicker and Banding
If your photos show horizontal stripes or half-changed images, you are likely seeing the interaction between the projector’s refresh and your camera’s shutter. It is especially common with electronic shutters and phones, because they read the sensor line by line (rolling shutter).
Ways to reduce it:
- Slow the shutter slightly. Exposures a bit longer than the refresh cycle average out the flicker. Try stepping down your shutter speed until the bands disappear.
- Switch to the mechanical shutter if your camera has one.
- Use anti-flicker settings. Many cameras have a flicker reduction mode or a fine shutter speed adjustment to match the light source.
- Shoot bursts. With changing animation and uneven refresh, taking several frames in a row improves the odds of a clean one.
- For video, match your shutter speed to the local mains frequency where possible (Singapore uses 50Hz, so shutter speeds such as 1/50 or 1/100 are worth testing), and try a few frame rates.
| Problem | Likely cause | What to try |
|---|---|---|
| Dark horizontal bands | Shutter too fast for the projector or LED refresh | Slower shutter, mechanical shutter, anti-flicker mode |
| Image looks half one scene, half another | Rolling shutter catching a transition | Shoot bursts, time shots to the middle of a scene |
| Projection washed out to white | Overexposure from metering on dark areas | Lower exposure, spot meter on the facade |
| Smeared, ghostly images | Shutter too slow or night mode stacking | Faster shutter, turn off night mode for motion |
Composing Around Crowds
At a big festival, you will rarely have a clear view. Rather than fighting the crowd, use it.
- Include silhouettes. Heads and raised phones against a glowing facade show scale and atmosphere. Get low and shoot slightly upwards for clean outlines.
- Find height. Steps, raised walkways or a slope can lift you above the crowd. Never climb barriers, railings or installations, and do not block paths or emergency routes.
- Go wide, then tight. A wide shot shows the building and setting, while a telephoto or zoomed crop captures a single striking frame of the animation.
- Look for reflections. Puddles after rain, glass doors and water features can double the light. See how to photograph reflections for technique.
- Frame with architecture. Archways, columns and trees around heritage buildings add depth.
- Arrive early for the best spot, and watch one full cycle of the projection before shooting so you know when the most photogenic moments come.
Tripods, Stabilisation and Etiquette
Tripods help with static installations and long exposures, but in crowded areas they can be a tripping hazard and some venues or events restrict them. Check the event’s rules before bringing one, and if allowed, keep it compact and tight to your body. A small tabletop tripod, a beanbag on a ledge, or simply bracing your elbows against a wall works well in a pinch.
Courtesy matters too:
- Turn off your flash. It will not reach a building, but it will spoil other people’s view and photos.
- Lower your screen brightness and avoid holding devices high for long periods in front of others.
- Respect artists’ and organisers’ rules on photography and filming, especially for indoor works.
- Be thoughtful when photographing strangers, particularly children. Our guide to photographing Singapore festivals respectfully has more on this.
Static Installations and Editing Tips
Glowing sculptures and light art that does not move are easier subjects. Here, night mode, longer exposures and lower ISO all work in your favour, and you can try creative techniques such as zoom blur or including moving people as light trails.
When editing:
- Pull back highlights first, then lift shadows gently. Too much shadow recovery adds noise.
- Adjust white balance carefully. Projections are colourful by design, so avoid neutralising them into grey.
- Reduce noise selectively on dark sky areas rather than the whole image.
- Straighten verticals on buildings for a cleaner, more professional look.
Practice makes a big difference. Start with a test shot as soon as the lights switch on, check your screen zoomed in for banding or blown highlights, and adjust before the crowd builds. With the right exposure and a bit of patience, you can photograph light projections that capture the magic of the night as you remember it.
Frequently Asked Questions
Is it better to photograph light projections with a phone or a camera? Either works. A phone is convenient and its night mode suits static sculptures, while a camera gives manual control over shutter speed and exposure, which helps with changing projections and flicker. Whichever you use, protecting the bright highlights matters more than the gear itself.
Why do my photos of LED displays show dark stripes? The stripes usually come from a fast shutter or electronic shutter catching the light’s refresh cycle. Slow the shutter slightly, switch to a mechanical shutter if you have one, or turn on anti-flicker mode. Shooting a burst also improves the odds of getting one clean frame.
Can I bring a tripod to a crowded night festival? Check the event’s rules first, as some venues and festivals restrict tripods and they can be a tripping hazard in crowds. If allowed, keep it compact and close to your body. A tabletop tripod, a beanbag on a ledge or bracing your elbows on a wall are good alternatives.
What video settings suit projection mapping in Singapore? Match your shutter speed to the local mains frequency where possible. Singapore uses 50Hz, so shutter speeds such as 1/50 or 1/100 are worth testing, and try a few frame rates. Check a zoomed-in test clip for banding before the crowd builds.
How do I edit night festival photos without making them look fake? Pull back the highlights first and lift shadows gently, since heavy shadow recovery adds noise. Keep the colours vivid instead of neutralising white balance, reduce noise only on the dark sky and straighten building verticals for a cleaner result.
Further reading: Light to Night Festival Singapore: A Guide to the Civic District Art Trail · How to Photograph Neon Signs at Night · How to Photograph Lanterns and Light-Ups at Night