
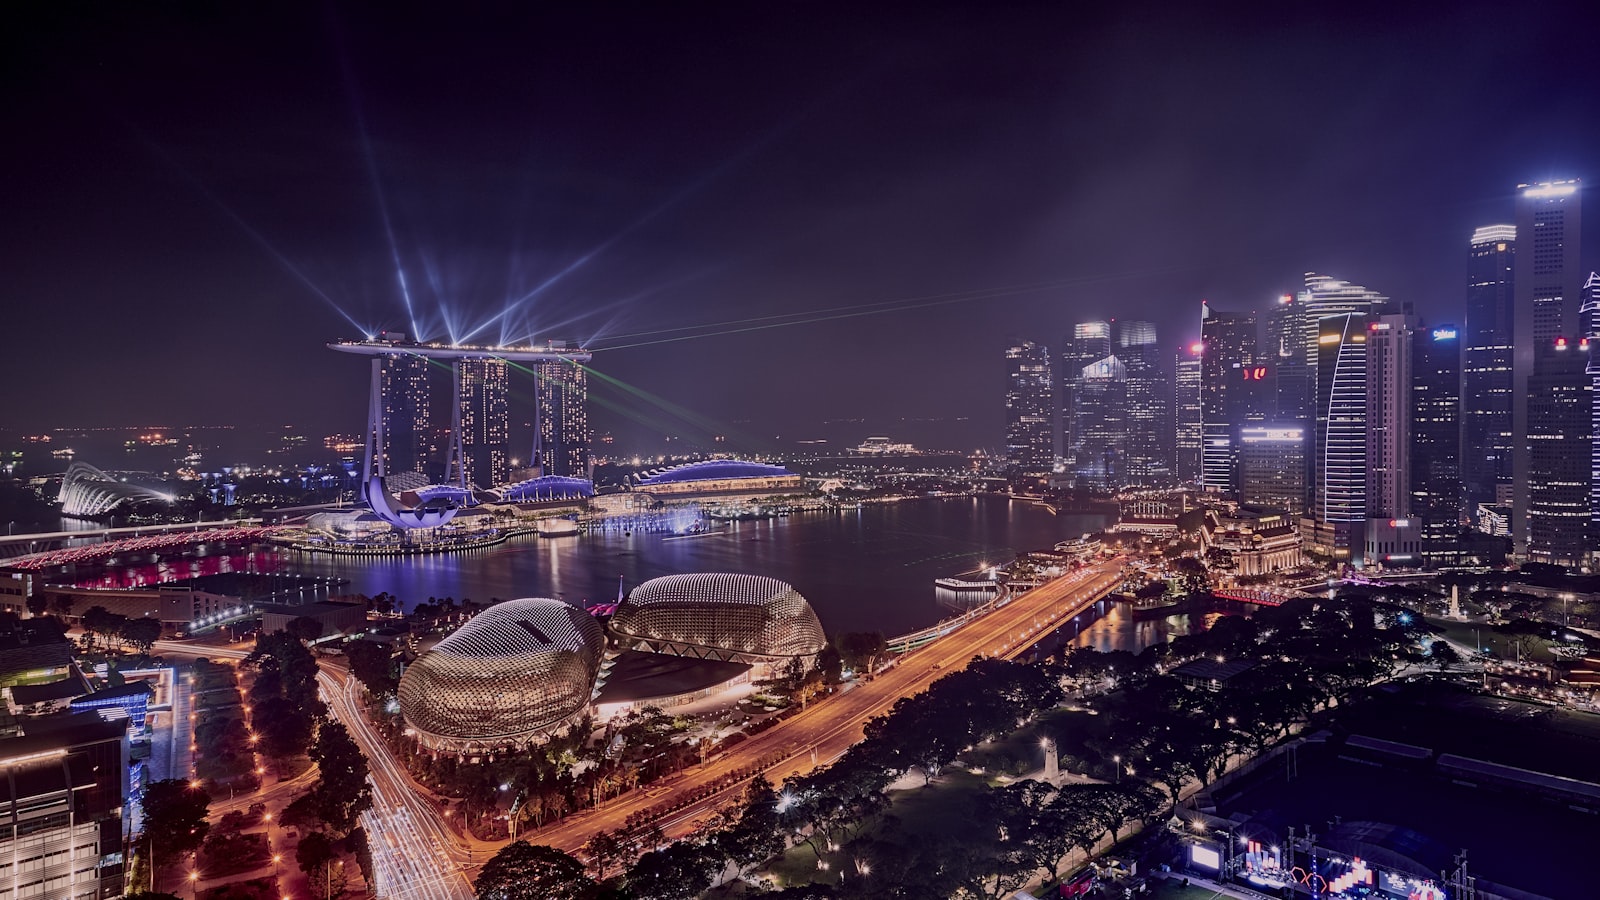
Some of the most atmospheric scenes happen when the sun has gone. Think of a glowing hawker centre after dark, a candlelit dinner, or the warm spill of shophouse lights along a five-foot way. Flash would flatten all of that, wiping out the mood and drawing unwanted attention. Good low light photography in Singapore is really about gathering the light that is already there, then handling the technical trade-offs honestly. The good news is that modern cameras, even phones, are far more capable in the dark than they were a few years ago.
Every low light photo comes down to a balancing act between three settings: aperture, shutter speed and ISO. If you are still getting comfortable with how they interact, it is worth reviewing aperture, shutter speed and ISO first, because low light is where that relationship is tested hardest.

Open Up, Slow Down, Push ISO
To let more light reach the sensor, you have three levers to pull.
Open your aperture. A wide aperture such as f/1.8 or f/2.8 lets in far more light than f/8. This is where a fast prime lens shines, and a bright 50mm is a favourite for exactly this reason. The trade is shallower depth of field, so focus carefully. If you enjoy that soft, glowing background, it doubles as a way to get creamy bokeh from street and shop lights.
Slow your shutter. A slower shutter gathers more light, but it also blurs anything that moves, including your own hands. There is a limit to how slow you can go handheld before camera shake ruins the shot.
Raise your ISO. ISO brightens the image but adds grain, called noise. Do not be too precious about this. A slightly noisy photo you actually captured beats a clean photo that was too dark or too blurry to use. Push ISO to 1600, 3200 or higher when you need it. Newer cameras handle these values well, and any leftover grain can be cleaned up later using noise reduction in editing.
Keep the Camera Steady
Because your shutter is open longer, stability becomes your best friend. The single biggest improvement most people can make is simply holding the camera still.
A tripod is the ideal solution for static scenes such as cityscapes, empty streets and still-life setups. It lets you use a slow shutter and a low ISO together, giving you clean, sharp results. If you are shooting skylines or the Marina Bay waterfront after dark, a tripod transforms your keeper rate. When choosing one, our guide to picking a tripod walks through what matters.
When you cannot carry a tripod, improvise. Brace your elbows against your body, lean on a railing, a wall or a table, and squeeze the shutter gently rather than jabbing it. Use your camera’s two second timer or a remote so your finger does not nudge the frame. If your camera or lens has image stabilisation, switch it on, as it buys you a couple of stops of slower shutter.
Suggested Starting Points
For a lit night street handheld, try aperture f/2 or wider, shutter around 1/60, and Auto ISO with a sensible cap. For a still cityscape on a tripod, use f/8 for sharpness across the frame, a shutter of several seconds, and ISO 100. Treat these as starting points, then check your result and adjust.
Focus, Exposure and White Balance
Autofocus struggles in the dark because it needs contrast to lock on. Aim your focus point at an edge where light meets shadow, such as the rim of a lamp or the outline of a face against a bright background. If autofocus keeps hunting, switch to manual focus and use focus magnification on your screen to nail it.
Trust your histogram more than the image on your screen, which looks deceptively bright at night. Learning to read the histogram helps you avoid crushing the shadows or blowing out bright signs. It is usually wise to protect the highlights and lift the shadows later in editing.
Mixed lighting is a very Singapore problem. A single hawker centre can mix warm tungsten bulbs, cool fluorescent tubes and neon all at once, and your white balance will wander. Shooting in RAW gives you the freedom to correct colour afterwards without losing quality, and it is well worth it in these conditions. If you want to get it closer in camera, adjusting your white balance to match the dominant light source helps.
Embrace the Mood
The biggest mindset shift for low light work is to stop fighting the darkness and start using it. Shadows create drama. Pools of light draw the eye. You do not need to light up every corner of the frame. Let some areas fall dark and let a single light source define your subject.
Be considerate too. Hawker centres, temples and night markets are lively, personal spaces. Photograph people respectfully, ask when it feels right, and mind the privacy of strangers. Our humid climate also means your gear can fog up when you move from an air-conditioned room into the warm night air, so give lenses a few minutes to acclimatise before you start.
Low light photography in Singapore takes a little patience, but the payoff is images with genuine atmosphere that daytime shots rarely match. Pick one warm-lit spot near you this week, leave the flash off, and see how much light was there all along.
Further reading: How to Shoot Through Glass Without Ugly Reflections · How to Shoot High Key and Low Key · How to Use Fill Flash · How to Photograph Dance and Performance