
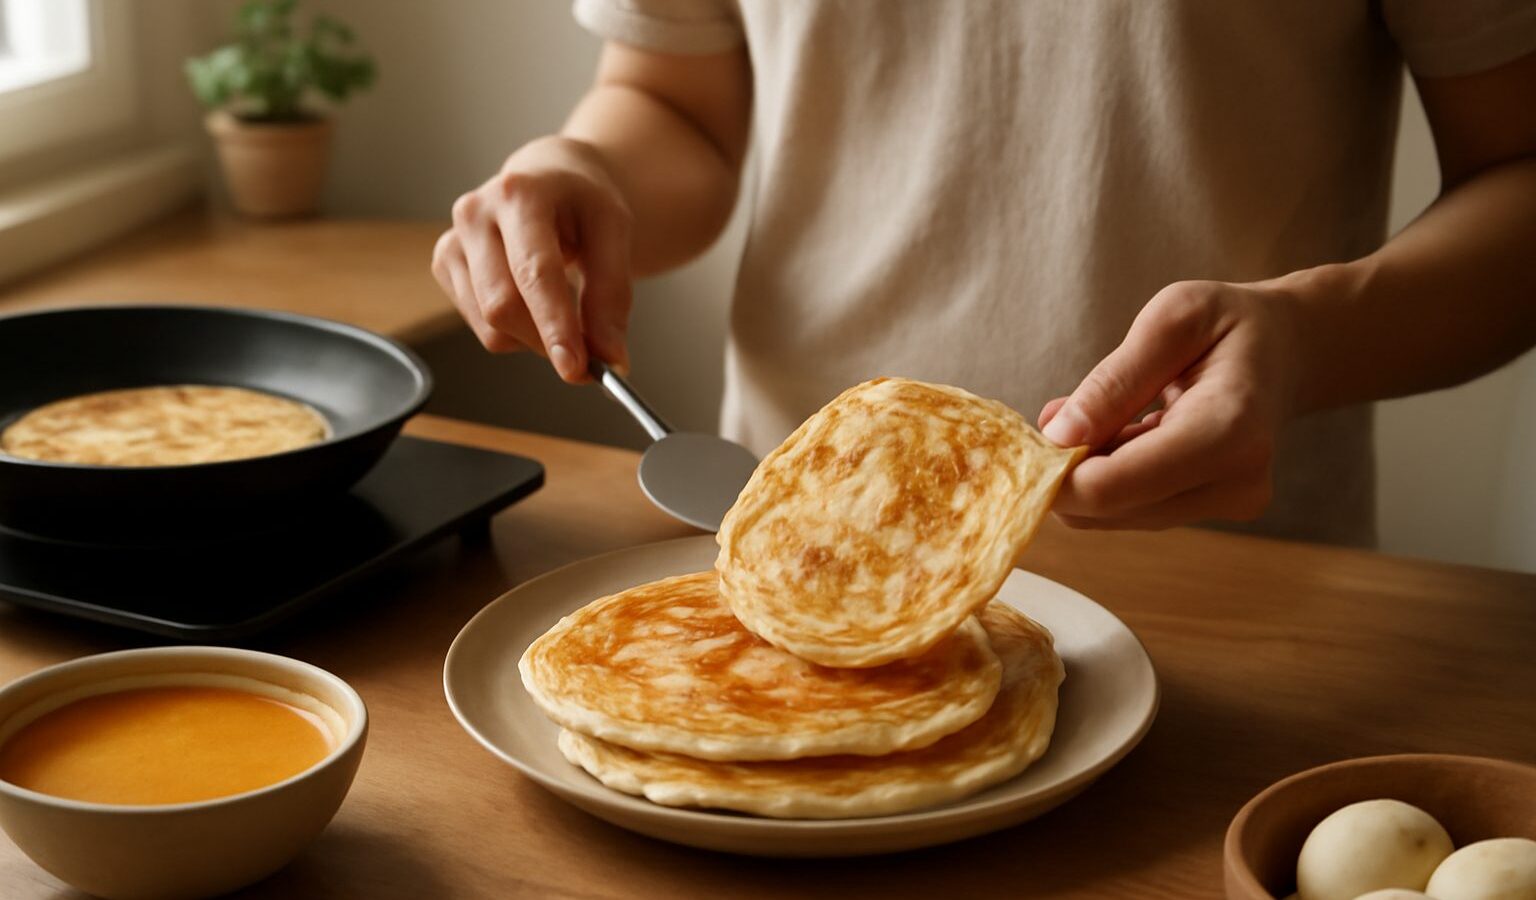
There is something almost magical about watching a prata man send a puck of dough spinning into a wide, gossamer sheet before folding it into a crisp, flaky pancake. Making roti prata at home will not turn you into that virtuoso overnight, and it would be dishonest to pretend otherwise, but the dough itself is simple, the results are deeply rewarding, and even a slightly clumsy homemade prata is a wonderful thing to eat with a bowl of curry. This guide walks you through the dough, the all important rest, the honest truth about flipping, and how to cook prata safely to golden, layered perfection.
Roti prata is a South Indian influenced flatbread beloved across Singapore, served crisp on the outside, soft and layered within, and traditionally paired with fish or dhal curry, or simply with sugar. The layers come from oil worked through a rested, stretchy dough, so the two secrets to good prata are a well developed dough and patience. Neither costs much, and both are within reach of a home cook willing to have a go and forgive themselves a few wonky first attempts.
Making and Resting the Dough
The dough is the foundation, and it rewards good handling. You start with plain flour, salt, a little sugar, and often a small amount of fat such as ghee, oil or softened butter, plus enough milk or water to bring it together. Some recipes add an egg or a spoon of condensed milk for richness, but a plain version works perfectly well to begin. Mix everything into a shaggy mass, then knead it thoroughly. This is important, because prata dough needs to be worked until it is smooth, soft and elastic, which develops the gluten that later lets you stretch it thin without tearing.
Once kneaded, divide the dough into balls, coat them generously in oil, and here is the step you must not skip. Rest the dough, covered and well oiled, for at least a few hours and ideally overnight in the fridge. This long rest relaxes the gluten so the dough becomes wonderfully extensible, which is the whole secret to stretching it thin. A dough rested for only twenty minutes will fight you and spring back, while one rested overnight will stretch like a dream. If you take nothing else from this guide, take the value of resting the dough properly.
The Honest Truth About Flipping
Now for the part everyone wants to master and the part that is genuinely tricky. The dramatic hawker flip, where the dough is thrown and spun into a huge translucent sheet, takes real practice and a lot of confidence, and your first attempts at home will almost certainly tear, stick or bunch up. That is completely normal, and it is not a sign you are doing anything wrong. Please do not be discouraged, because you do not need the theatrical flip to make lovely prata at home.
The friendlier method is to stretch rather than throw. Take a well rested, oiled ball of dough and press it out on a generously oiled surface, then gently coax and stretch it outward with oiled hands, working from the centre to the edges, until it is as thin as you can manage without tearing. A stainless steel worktop or a large oiled tray works well. It is fine if there are a few small holes. Once you have a thin sheet, brush it with a little more oil or ghee, then fold the edges inward toward the centre to build the layers, either into a rough square or by coiling it into a spiral and flattening it. Those folds trap the oil between thin sheets of dough, and that is exactly what creates the flaky layers when it cooks.
Give yourself permission to be a beginner here. Every prata master started with torn, uneven sheets, and even an imperfect fold produces something delicious. The flip is a party trick you can chase later, once the everyday stretch and fold feels natural.
Cooking Safely to Crisp, Flaky Prata
Prata is cooked on a hot griddle or a heavy flat pan with a generous slick of oil or ghee, so a little care with heat keeps things safe. Heat the pan to a medium high heat, hot enough to crisp the dough but not so fierce that the oil smokes or spits wildly. Lay the folded prata down gently, away from you rather than dropping it, so the hot oil does not splash toward you. Keep a dry hand and a heatproof spatula, take care around the hot surface, and never leave a hot oily pan unattended.
Cook the prata until the underside is golden and crisp, then flip it and cook the other side, adding a little more oil or ghee as needed to encourage those flaky, blistered layers. When both sides are deeply golden and the prata feels light and crisp, a classic finishing touch is to clap or scrunch it lightly between your hands, carefully because it is hot, to loosen and separate the layers. Serve it hot, straight from the pan, with curry alongside.
| Stage | What to do | Beginner tip |
|---|---|---|
| Dough | Knead until smooth and elastic | Do not skimp on the kneading |
| Rest | Oil well, rest hours or overnight | The longer the rest, the easier it stretches |
| Shape | Stretch thin, then fold to layer | Stretch, do not throw, at first |
| Cook | Medium high, plenty of oil or ghee | Lay dough away from you to avoid splatter |
Roti prata at home is a genuinely fun project, and it improves noticeably every time you make it. Your first batch may be thick or patchy, your second will be better, and by the third you will start to feel the dough respond to your hands. Keep the dough well rested, keep your stretching gentle, keep the pan sensibly hot, and serve your prata piping hot with a good curry. Homemade will never quite match the hawker flourish, but a fresh, flaky prata off your own pan is a small triumph worth celebrating.
Explore more
How to Make a Rempah Spice Paste
How to Toast and Temper Spices
Basic Knife Skills for Home Cooks
How to Make Sambal Chilli from Scratch