
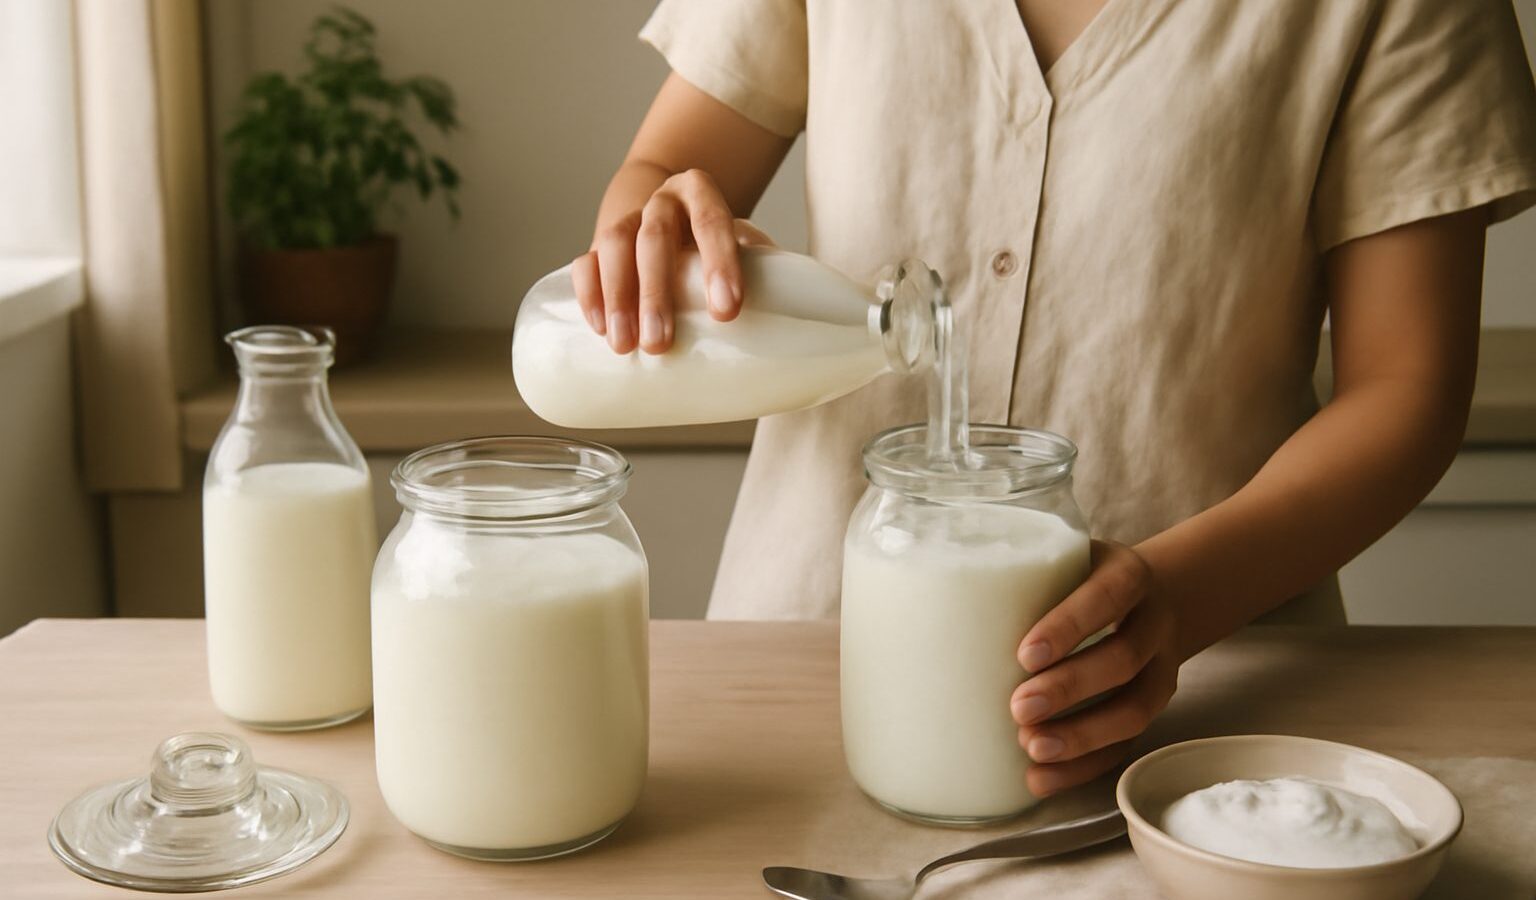
Making yogurt at home singapore cooks will tell you, is one of those small kitchen projects that feels almost magical the first time it works. You start with plain milk and a spoon of live culture, leave it somewhere warm, and a few hours later you have a thick, tangy pot of yogurt that costs a fraction of the shop version. In our warm climate you barely need special equipment, since the ambient temperature already helps the culture along. With a little care around cleanliness and temperature, it is a genuinely reliable habit to build.
This guide takes you through the whole process, from heating and cooling the milk to choosing a starter, incubating safely, and getting a thicker set. Homemade yogurt is forgiving once you understand what the bacteria need, so let us walk through it step by step.
What You Need to Get Started
The beauty of yogurt is how little you need. The two essentials are milk and a live culture starter. For the milk, full cream dairy milk gives the richest, thickest result, while low fat milk works but sets softer. The one thing that matters is that the milk is fresh and that your equipment is scrupulously clean, because you are creating warm, welcoming conditions and you want the good bacteria to win, not stray ones.
For the starter, you need a yogurt that contains live or active cultures. A few tablespoons of a plain, unsweetened yogurt with live cultures is all it takes to seed a whole batch. Check that the yogurt you buy actually lists live or active cultures, since heavily processed or sweetened versions may not carry enough active bacteria to do the job. Once you have made your first successful batch, you can save a few spoons of it to start the next one.
In terms of kit, you need a pot for heating the milk, a thermometer, clean jars or a bowl, and something to keep the mixture warm during incubation. A dedicated yogurt maker is convenient but not essential. Many home cooks simply use a vacuum flask, an oven with the light on, or a covered container wrapped in a towel. Before you begin, wash and rinse everything well and let it air dry, or scald jars with just-boiled water, so that your equipment is as clean as possible.
Heating and Cooling the Milk
The first real step is to heat the milk. Pour it into your pot and warm it gently, stirring now and then so it does not catch on the base, until it is steaming and just below a simmer. Heating the milk improves the final texture and helps give a thicker set, and it also gives the milk a cleaner start. Do not let it boil over. A gentle scald is all you are after.
Once heated, take the milk off the heat and let it cool. This cooling stage is the most important temperature moment in the whole process. If you add your starter while the milk is too hot, the heat will kill the live cultures and nothing will set. You want the milk cooled to a warm but not hot temperature, roughly the point where it feels comfortably warm rather than scalding to a clean finger. A thermometer takes the guesswork out, with the usual target sitting in the region of around forty three to forty six degrees Celsius, a warm bath temperature rather than a hot one.
When the milk has cooled to that warm range, stir a few tablespoons of your live starter yogurt into a small amount of the milk first until smooth, then stir that back into the rest. Mixing the starter in gently and evenly helps it spread through the whole batch. Now it is ready to incubate.
Incubating Safely
Incubation is simply keeping the mixture warm and undisturbed while the cultures do their work. Pour the milk into your clean jars or container, cover, and keep it in a warm, still spot. This is where our climate helps, though you still want steady warmth rather than a fluctuating temperature. A vacuum flask, an oven with only the light on, or a container wrapped snugly in a towel all work well.
Leave it to set for several hours, commonly somewhere between about four and eight hours, checking it towards the end. The longer it incubates, the tangier and firmer it becomes, so taste and texture are your guide. Try not to jostle or stir it while it sets, as movement can stop it forming a clean, wobbly curd.
Food safety deserves a clear word here. Yogurt making relies on keeping the milk in a warm zone that bacteria enjoy, so you should not leave the mixture sitting at room temperature far longer than the setting time it needs. Once it has set to your liking, refrigerate it promptly and keep it chilled. As with any home fermentation, trust your senses. If the finished yogurt smells off, shows any mould or pink or coloured spots, or looks or tastes wrong in any way, throw it out rather than risk it. This is general guidance to help you get good results, not a substitute for official food safety advice.
Comparing Milk Choices
Different milks give noticeably different results, so it helps to know what to expect before you start. The table below compares common options.
| Milk type | Texture of set | Richness | Notes |
|---|---|---|---|
| Full cream dairy | Thick and creamy | High | Most reliable for a firm set |
| Low fat dairy | Softer, looser | Lower | Works well, thinner result |
| Milk with added milk powder | Extra thick | High | Powder boosts body and firmness |
| Plant based milk | Variable | Varies | Needs a suitable culture, results differ |
Dairy milk is the most dependable choice for a first attempt. Once you are confident, you can experiment with stirring in a spoon of milk powder for an even thicker, spoon-standing set.
Getting a Thicker Set and Serving
If your yogurt comes out thinner than you would like, there are easy fixes. Straining it through a clean cloth for an hour or two in the fridge drains off some whey and gives you a thick, Greek style yogurt. Adding a little milk powder before incubating, or heating the milk a touch longer, also builds body.
Serve your homemade yogurt however you enjoy it, with honey and fruit, alongside a spicy curry to cool the heat, or blended into a lassi. Remember to save a few clean spoonfuls of each batch to start the next one, keeping that portion in a covered container in the fridge. With practice you will find your own rhythm, and a steady supply of fresh yogurt becomes one of the simplest pleasures your kitchen can offer.
Explore more
How to Make Congee and Porridge at Home
How to Use a Mortar and Pestle
How to Make Nasi Lemak at Home
How to Make Stock and Broth from Scratch