
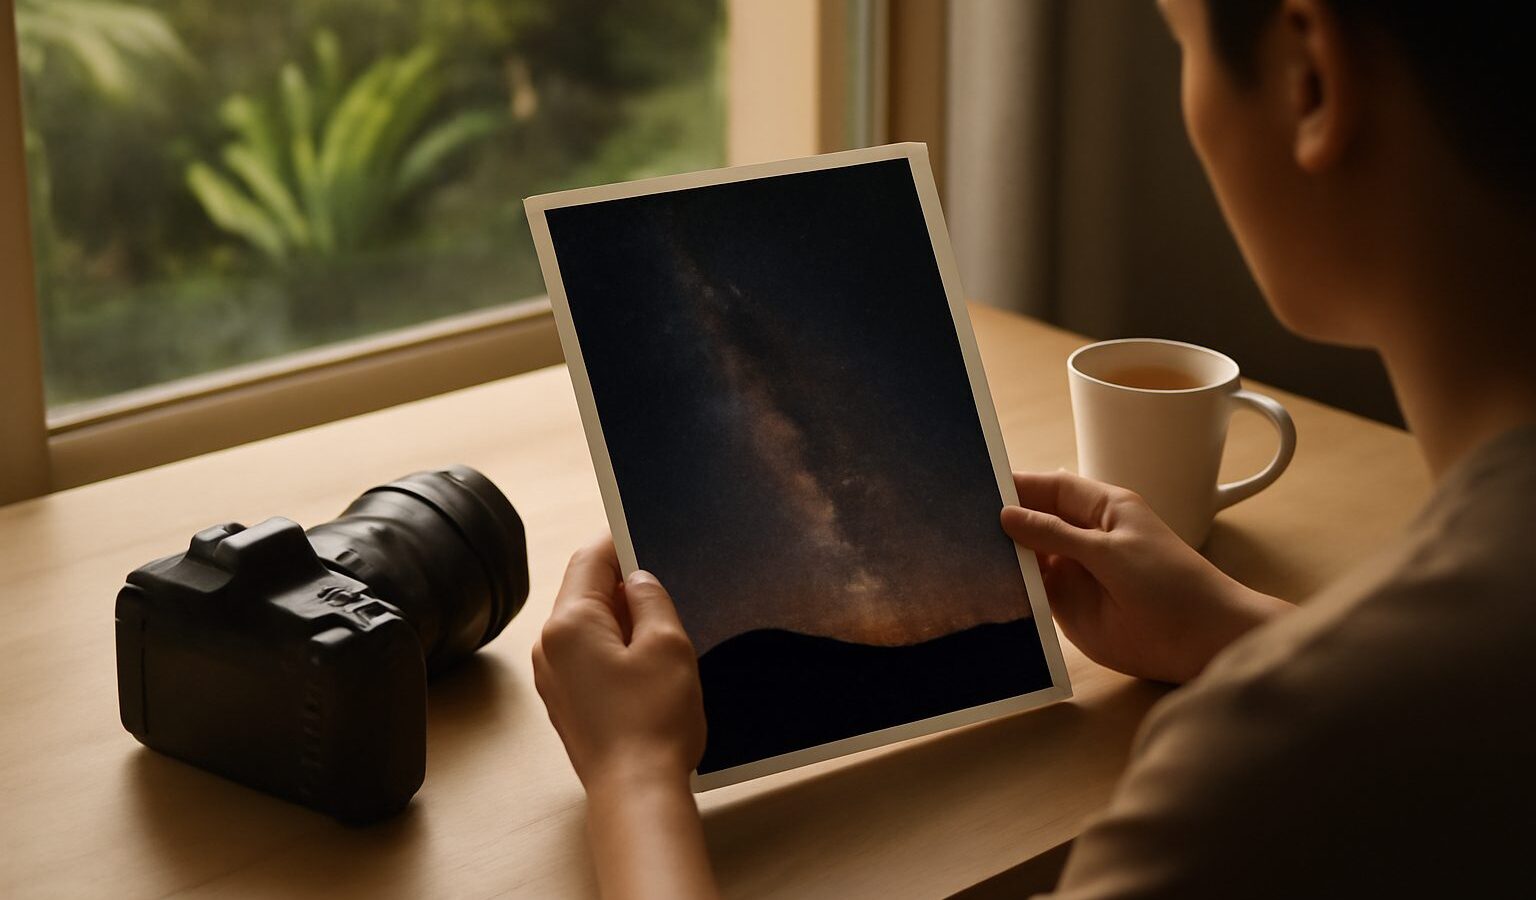
Astrophotography feels like magic the first time a faint smear of stars appears on your screen where your eyes saw only darkness. The good news is that you do not need exotic gear to begin. The honest news is that Singapore is one of the harder places on Earth to do it, because we sit near the equator under a bright, humid sky ringed by city lights. This guide keeps things realistic. It shows what you can capture here, what to lower your hopes about, and the exact steps to get a clean, sharp frame of the night sky on either a camera or a phone.
Why Singapore Is a Tough But Doable Place to Start
Light pollution near the equator is very real. The glow from the city, the port and constant cloud cover means our skies rarely go truly dark, so the delicate detail of the Milky Way core is hard to pull out from the heartlands or Marina Bay. Do not believe the dramatic galaxy shots you see online were taken from a void deck. Most come from remote, high-altitude sites far from any city.
That said, plenty is still within reach. The Moon is bright and forgiving. Bright planets, the brighter constellations, and star trails all work here. On the clearest nights, usually after heavy rain has scrubbed the haze away, you can coax out more stars than you expect from darker corners like the reservoirs, the coast at East Coast Park or the open fields near the western catchment areas. Manage your expectations and you will enjoy the process far more.
Our humidity adds its own twist. Warm, damp air fogs cold glass fast, and it can hang as a soft haze that muddies contrast. A clear, breezy night after rain is your friend.
Safety First, Because You Will Be Out in the Dark
Night shooting means being alone in quiet places at odd hours, so treat personal safety as the first setting you dial in. Tell someone where you are going and when you expect to be back. Share your live location with a friend or family member. Bring a charged phone, a torch, water and a light rain layer, since a downpour can arrive with little warning.
Stick to legal, accessible spots and their opening hours. Do not trespass onto private land, restricted reservoir edges, construction sites or closed park areas to chase a better foreground. Parks and nature reserves follow NParks guidance, and some close at night or restrict tripods, so check before you go. Watch your footing near water and roads in the dark, mind the mosquitoes, and if a place feels wrong, leave. No photo is worth it.
The Gear You Actually Need
You can start with less than you think. Here is the short list.
- A tripod. This is non-negotiable. Astrophotography relies on long exposures, meaning the shutter stays open for several seconds or more, so the camera must not move at all. A steady, entry-level tripod is fine to begin with. If you want to compare options, see our guide on how to choose a tripod.
- A camera with manual mode, or a modern phone. Any camera that lets you set shutter speed, aperture and ISO by hand will do. Many current phones have a dedicated Night mode or a Pro mode that exposes for several seconds.
- A way to trigger the shutter without touching it. Use a remote, a cable release, or simply the two second self-timer so your finger is off the camera when the shutter fires.
- Spare power and a soft red torch. Cold, long exposures drain batteries, and a red light preserves your night vision.
There is no need to buy expensive, specialist equipment to learn. Rent or borrow before you invest, and buy from a reputable camera shop when you are ready.
Camera Settings That Get You a Clean First Frame
The classic starting point for a wide star field is a bright lens, a high ISO and a shutter long enough to gather light but short enough that stars stay as points rather than streaks. ISO is your sensor’s sensitivity to light, and aperture is the size of the lens opening, written as an f-number where a smaller number means a wider, brighter opening.
Follow these steps:
- Mount the camera on the tripod and switch to full Manual mode.
- Set the lens to manual focus and focus on infinity. Zoom in on a bright star on your live screen and adjust until it is the smallest, sharpest point.
- Open the aperture wide, for example f/2.8 or the smallest f-number your lens allows.
- Start ISO around 1600 to 3200.
- Set a shutter of about 10 to 20 seconds for a wide lens. Longer than that and the Earth’s rotation turns stars into short trails.
- Use the self-timer, shoot, then check. Brighten the ISO or shorten the shutter based on what you see.
On a phone, prop it on the tripod with a clamp, open Night mode or Pro mode, hold dead still through the countdown, and let it do its stacking. Turn off the flash. Results vary by model, but many phones surprise people on a clear night.
Setting Choices and What They Change
Use this quick reference when a frame does not look right.
| Setting or choice | Turn it up or longer | Turn it down or shorter |
|---|---|---|
| ISO | Brighter stars, but more grainy noise | Cleaner image, but fainter stars |
| Shutter speed | More light gathered | Sharper star points, less trailing |
| Aperture (f-number) | Higher number darkens the frame | Lower number brightens and blurs edges |
| White balance | Warmer, orange cast | Cooler, bluer night sky |
Start in the middle, change one thing at a time, and let the histogram guide you rather than the small, bright screen, which always looks better at night than the file really is.
Two Beginner Projects Worth Trying Here
Star trails. Instead of fighting the Earth’s rotation, use it. Take many frames over 30 to 60 minutes, then stack them in free software so the stars draw graceful arcs. A strong foreground, such as a lone tree, a jetty or the skyline, gives the arcs somewhere to live.
The Moon and cityscape. The Moon is bright enough to shoot at low ISO and a fast shutter, so it is a gentle introduction. Pairing a rising Moon with our skyline blends nicely into cityscape work, and the same tripod habits carry straight over.
Bringing the Frame to Life Afterwards
Night files almost always need editing, and that is normal and honest. Shoot in RAW if you can, since it holds far more detail in the shadows. Gently lift the shadows, pull the highlights down, add contrast, and reduce noise. Fixing the colour balance so the sky reads neutral rather than orange makes a big difference against our light-polluted glow. If skies are your weak point, learning bracketing and HDR photography and dialling in exposure compensation will both sharpen your night results.
Be patient with yourself. Your first outings may be mostly learning, weather and mosquitoes. But the night a real cluster of stars resolves on your screen, taken by you, over Singapore, makes every earlier attempt worth it.
Explore more: how to choose a tripod, cityscape and skyline photography, bracketing and HDR photography, and using exposure compensation.