
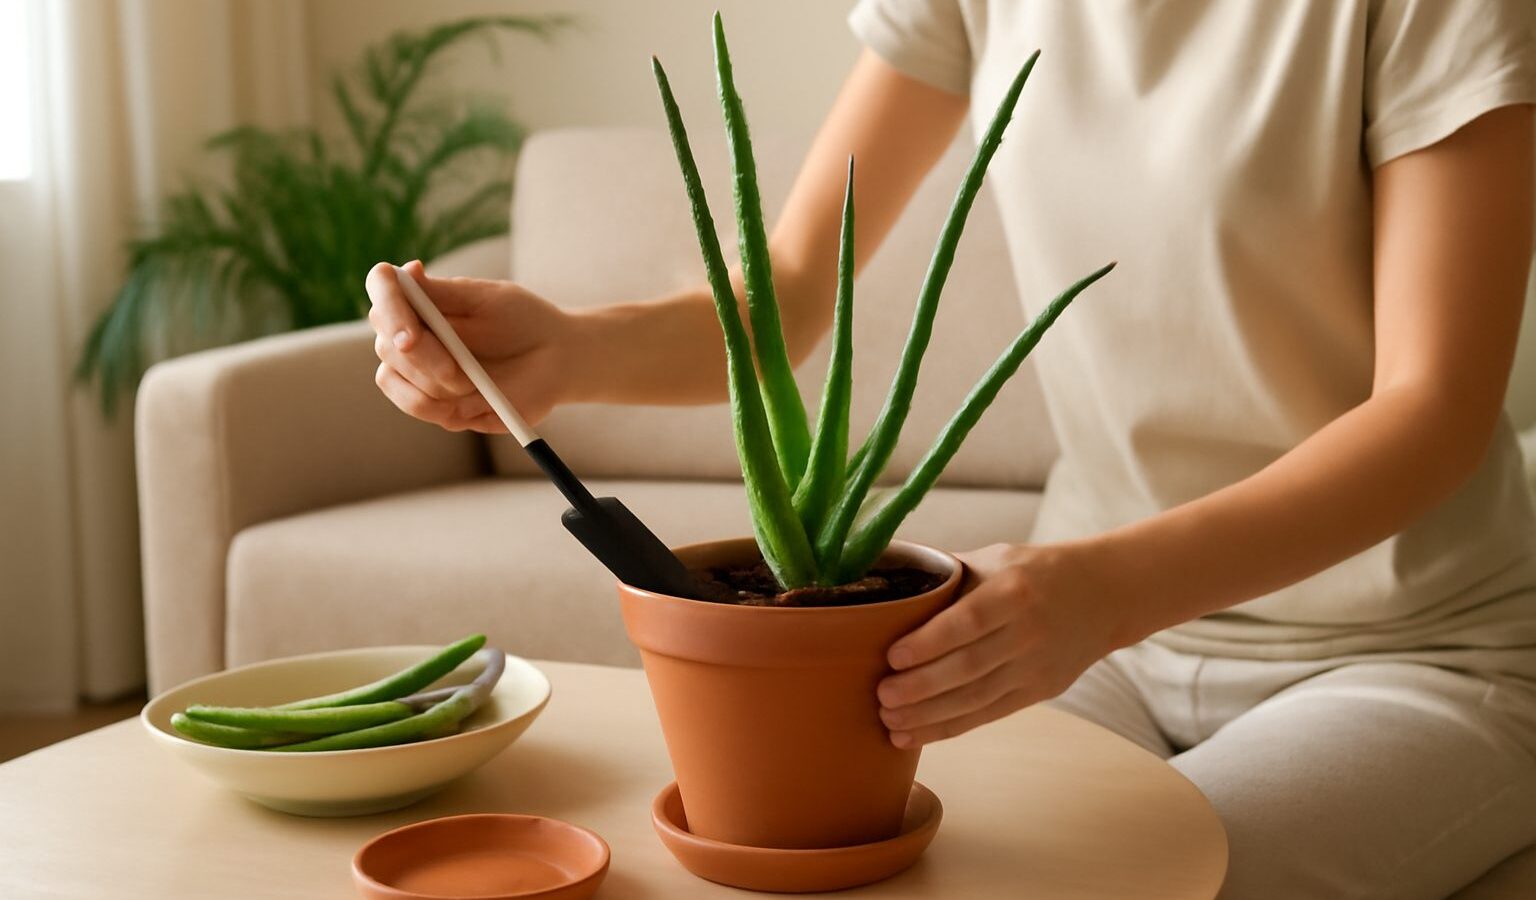
Aloe vera is one of those plants that seems built for the forgetful. It is a succulent, storing water in its thick, spiky leaves, so it shrugs off a missed watering far better than most houseplants. That toughness makes growing aloe vera a great confidence builder for beginners and black thumbs, and it earns its place on a bright windowsill or balcony ledge in any HDB or condo home. This guide covers how to keep it healthy in our climate, how to multiply it for free, and how to use it sensibly.
A note up front: this is general information for home gardeners on growing and everyday household use, not medical advice. See the safety section before you use any part of the plant.
What Aloe Vera Needs to Thrive
Aloe vera comes from dry, sunny regions, so the biggest mistake in humid Singapore is kindness in the form of too much water. Get the light and drainage right and the rest is easy.
- Light: Bright light is essential. A spot with several hours of sun, such as an east or south facing window or a sheltered balcony corner, keeps the plant compact and firm. In deep shade it grows pale, floppy and leggy. If you move it into stronger sun, do so gradually over a week or two, as leaves can scorch and brown if suddenly blasted.
- Water: Water thoroughly, then wait until the mix is properly dry before watering again. In our heat that might be once a week for a pot in strong light, less if it is cooler or shadier. When in doubt, wait. Mushy, translucent leaves mean overwatering.
- Humidity: Our humidity is fine for aloe. What it will not forgive is soggy roots, so airflow around the pot helps.
Aircon dries indoor air, which aloe tolerates happily, so it is a sound choice for a bright indoor desk or shelf as long as it still gets good light.
Potting and Soil for Our Humid Climate
Drainage is everything with a succulent in the tropics. Standing moisture at the roots is the fast route to rot.
- Choose a pot with drainage holes. Terracotta is ideal because it breathes and dries faster than plastic.
- Use a gritty, free draining mix. A cactus and succulent mix works, or lighten ordinary potting mix with coarse sand, perlite or fine gravel so water runs straight through.
- Plant the aloe at the same depth it was growing, keeping the base of the leaves above the soil line so the crown does not sit wet.
- Water lightly and place it in bright light. Hold off on heavy watering for a few days so any disturbed roots can settle.
Always tip out the saucer after watering or a downpour on the balcony. A saucer left full is both a rot risk for the plant and, in Singapore, a potential Aedes mosquito breeding site, so keep to the Mozzie Wipeout habit of emptying standing water. Repot every couple of years or when the plant crowds its pot or fills it with pups.
Multiplying Aloe From Pups
One of the joys of growing aloe vera is that a healthy plant makes copies of itself. These offsets, called pups, sprout around the base of the parent.
- Wait until a pup is a decent size, ideally with a few of its own leaves and hopefully some roots.
- Ease the whole plant out of the pot and gently separate the pup, teasing its roots free of the parent. A clean cut is fine if they are firmly joined.
- Let a cut or bare pup sit in a dry, shaded spot for a day or two so the wound calluses over. This callusing step prevents rot when it is potted.
- Pot the pup into the same gritty mix, water sparingly, and keep it in bright but not scorching light until it establishes.
This is a free and reliable way to build a collection or share plants with neighbours and the Community in Bloom crowd. If you enjoy propagating, the same patience pays off across the garden, from succulents to the herbs in our tea and tisane garden guide.
Common Problems and Quick Fixes
Most aloe troubles trace back to water and light. This table sorts the usual signs.
| Sign | Likely cause | What to do |
|---|---|---|
| Soft, mushy, translucent leaves | Overwatering or poor drainage | Stop watering, let it dry, repot into gritty mix if roots are rotting |
| Thin, pale, floppy leaves | Too little light | Move to a brighter spot gradually |
| Brown, dry leaf tips | Underwatering or sudden strong sun | Water a little more often, shift out of harsh midday sun |
| Reddish or bronze leaves | Stress from intense sun | Normal in strong light, ease into part shade if severe |
Pests are uncommon on aloe, though mealybugs can hide at the leaf bases. Wipe them off with a cotton bud, and check new plants before adding them to your collection. A homemade feed from our DIY organic fertilisers from kitchen waste guide, used sparingly and diluted, is more than enough, since aloe is a light feeder.
Using Aloe Vera Safely
An aloe leaf holds two things: the clear inner gel, and a yellow sap just under the skin called latex. They are not the same, and this matters.
- The yellow latex can irritate. It sits between the green skin and the clear gel and can irritate skin and, in particular, the digestive system. When preparing a leaf, cut it and let the yellow latex drain away, then use only the clear inner gel.
- Do not ingest aloe without proper guidance. Eating aloe, especially the latex, can cause cramps and upset. Aloe products meant for consumption are specially processed. Do not treat a home grown leaf as food or medicine on your own.
- Patch test on skin. Even the clear gel can cause a reaction in some people. Try a small amount on a small patch of skin first.
- Keep it away from pets. Aloe is toxic to cats and dogs if eaten, so keep the plant out of their reach and seek a vet if a pet chews it.
- This is not medical advice. For any skin condition, burn, wound or health concern, see a doctor or pharmacist rather than relying on a plant.
Treated as a handsome, undemanding succulent, aloe vera is a near perfect Singapore houseplant: tough, striking and endlessly self propagating. Enjoy growing it, respect the safety points, and let a professional handle anything medical.
Explore more: growing edible flowers and growing butterfly pea flowers.