
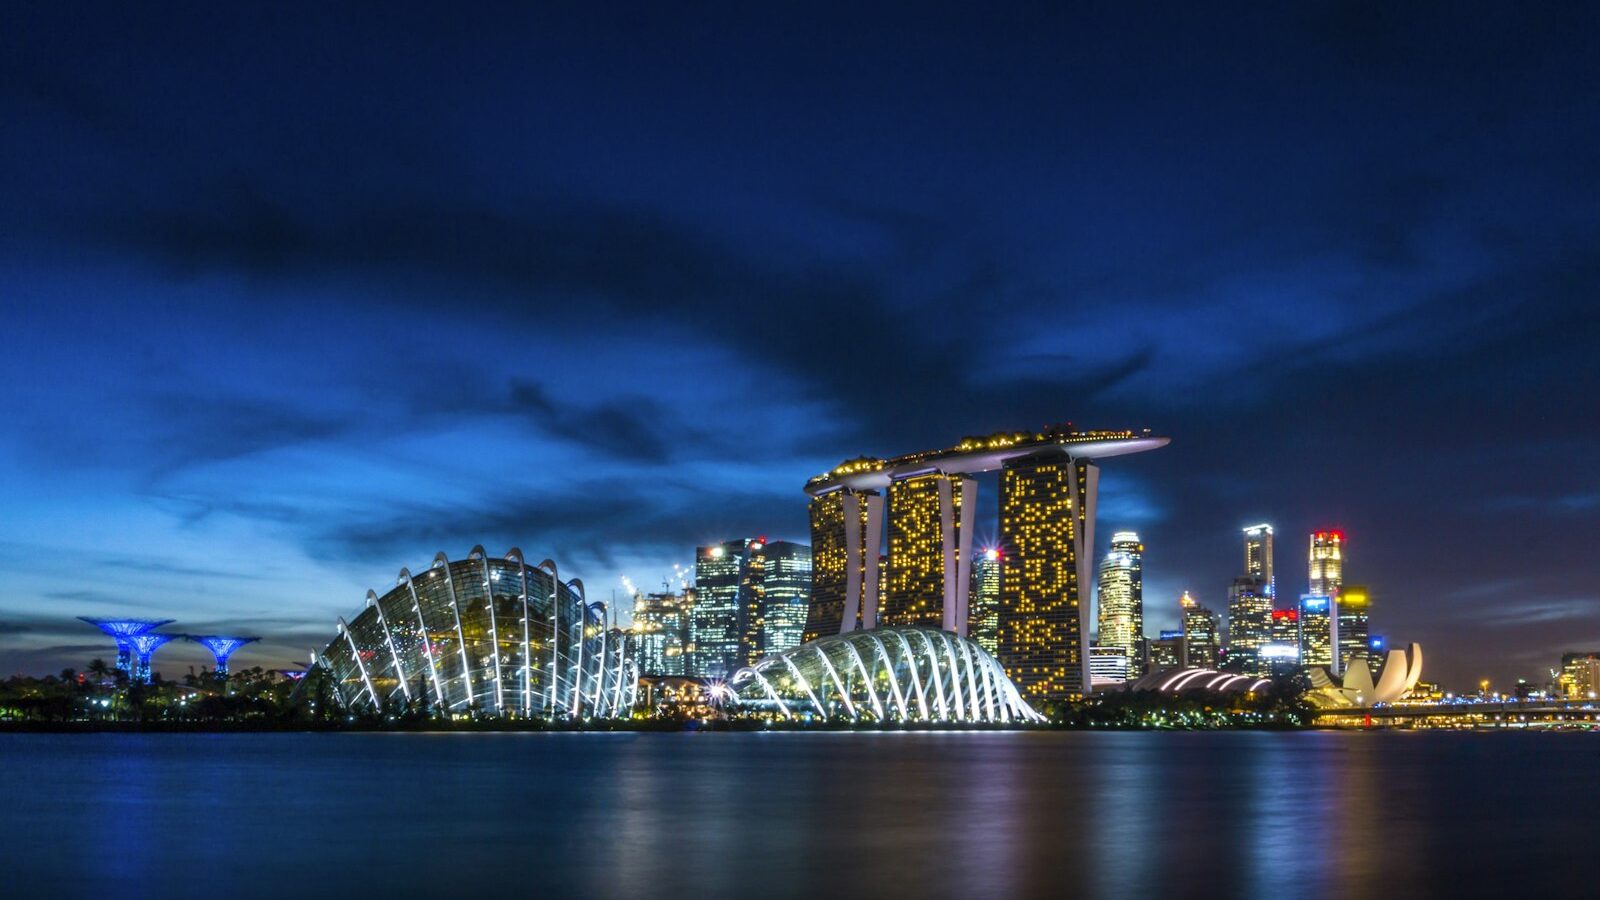
There is real magic in a photo where the stars sweep across the sky in long, curving arcs, tracing the rotation of the Earth over an hour or more. Star trails photography in Singapore is one of the more ambitious things you can attempt with a camera, and I want to be honest with you from the start: our island is one of the most light-polluted places on the planet. That does not make star trails impossible here, but it does mean you should set your expectations sensibly and be willing to work for a modest result, or to travel for a spectacular one.
The technique itself is beautifully simple in principle. You keep the shutter open, or take many photos in sequence, while the sky slowly rotates. The stars, being effectively fixed points of light, draw lines as the Earth turns beneath them. What you need most is not expensive gear but patience, a steady setup and a dark enough sky.

The Honest Truth About Singapore Skies
Let us deal with light pollution first, because it shapes everything else. The glow from our city lights washes out the night sky, so only the brightest stars punch through. From most of the mainland you will capture far fewer trails than you would from a truly dark site, and your long exposures will pick up an orange or grey sky glow rather than deep black.
You can improve your odds. Head to the darkest corners you can reasonably reach, such as the outer edges of the island, offshore islands, or reservoir areas away from direct lighting, always respecting NParks rules and any access restrictions. Point your camera away from the brightest part of the city and toward the darker horizon. Shoot on a clear, moonless night, since even our frequent cloud cover and haze will scupper an attempt. And accept that the truly jaw-dropping star trail images you admire online were almost certainly made under genuinely dark skies, which for many of us means a trip abroad. For a gentler introduction to the night sky closer to home, our guide to astrophotography basics is a good companion read.
Gear and Setup
You do not need much, but each piece matters.
A sturdy tripod is non-negotiable. Your camera must stay perfectly still for a long time, so a solid support is the foundation of the whole shot. If you are shopping for one, our guide to choosing a tripod explains what to look for.
A camera with a manual mode and, ideally, an intervalometer or built-in interval timer. Many cameras have this built in now, or you can use a cheap remote timer. This lets you fire a long series of shots automatically.
A wide angle lens with a bright aperture helps you capture a big sweep of sky and gather as much light as possible. If wide lenses are new to you, see our notes on choosing a wide angle lens.
A fully charged battery, or two, because long sessions drain power fast, especially in our warm, humid air.
Two Ways to Capture the Trails
There are two main methods, and the second is far more forgiving in a bright city.
The first is a single long exposure. You set your camera to bulb mode and hold the shutter open for many minutes or even hours. This is the traditional approach, but in Singapore it is risky. Our bright skies will overexpose a very long single frame quickly, turning the whole image a milky orange. Long single exposures also build up heat noise on the sensor.
The second, and the method I recommend here, is stacking. Instead of one long exposure, you take a long series of shorter exposures, then combine them later in software so the trails join up into continuous lines. This gives you far more control. A typical starting point is a 30 second exposure at an aperture around f/2.8 to f/4, with ISO somewhere between 400 and 1600, repeated back to back for an hour or more. Because each frame is short, your sky stays under control and any noise is easier to manage. Free stacking software can merge the frames, and the same discipline of steady, repeated frames underpins how to shoot a time lapse, which is a natural next project.
Nailing Focus and Framing
Autofocus will fail in the dark, so switch to manual focus and set it to infinity, then check a test shot at high magnification to confirm the brightest star is sharp. Turn off any lens stabilisation and long exposure noise reduction that would double your exposure time between frames. Composition matters too. A plain sky of arcs can feel empty, so include an interesting foreground such as a lone tree, a jetty or a distinctive silhouette to anchor the image and give a sense of place.
Manage Your Gear and Stay Safe
Our climate deserves respect on a night shoot. Warm, humid air can cause condensation on a cool lens, so let your gear acclimatise and consider a lens warmer if you find fogging is a problem. Keep an eye on your surroundings, tell someone where you are going, and never venture into unsafe or prohibited areas in the dark just for a photo.
Star trails photography in Singapore will test your patience more than your wallet, and your first attempts under our bright skies may be humble. That is fine. Learn the process here, master your settings, and you will be ready to capture something truly special the next time you find yourself under a genuinely dark sky. Pack your tripod, pick a clear moonless night, and give it a go.
Frequently Asked Questions
How long does a star trail photo take to shoot? A visible set of trails generally needs a long series of frames over an hour or more. Longer sessions give longer arcs. Plan your battery, storage and a safe, comfortable spot before starting.
What free software can stack star trail photos? Several free stacking programs can merge a series of short exposures so the trails join into continuous lines. Check reviews and compatibility with your computer before downloading. Shoot RAW or high-quality JPEG frames for the best result.
Is a time-lapse the same as star trails photography? They use the same discipline of steady, repeated frames, but the output differs. Star trails merge the frames into one still image, while a time-lapse plays them as a video. The same set of frames can sometimes serve both.
Why should I turn off long exposure noise reduction? It can double the time each frame takes, leaving gaps in your sequence and breaking up the trails. Turn it off, and do noise handling afterwards in editing. Turn off lens stabilisation on a tripod too.
Is it safe to shoot night photography at reservoirs and islands? Only if you stay in permitted areas, follow NParks rules and access restrictions, tell someone where you are going and avoid unsafe spots in the dark. Never trespass for a photo. Go with a companion if you can.